Showing posts with label Sowing. Show all posts

Friday, May 31, 2013

Done! All Seeds in the Ground


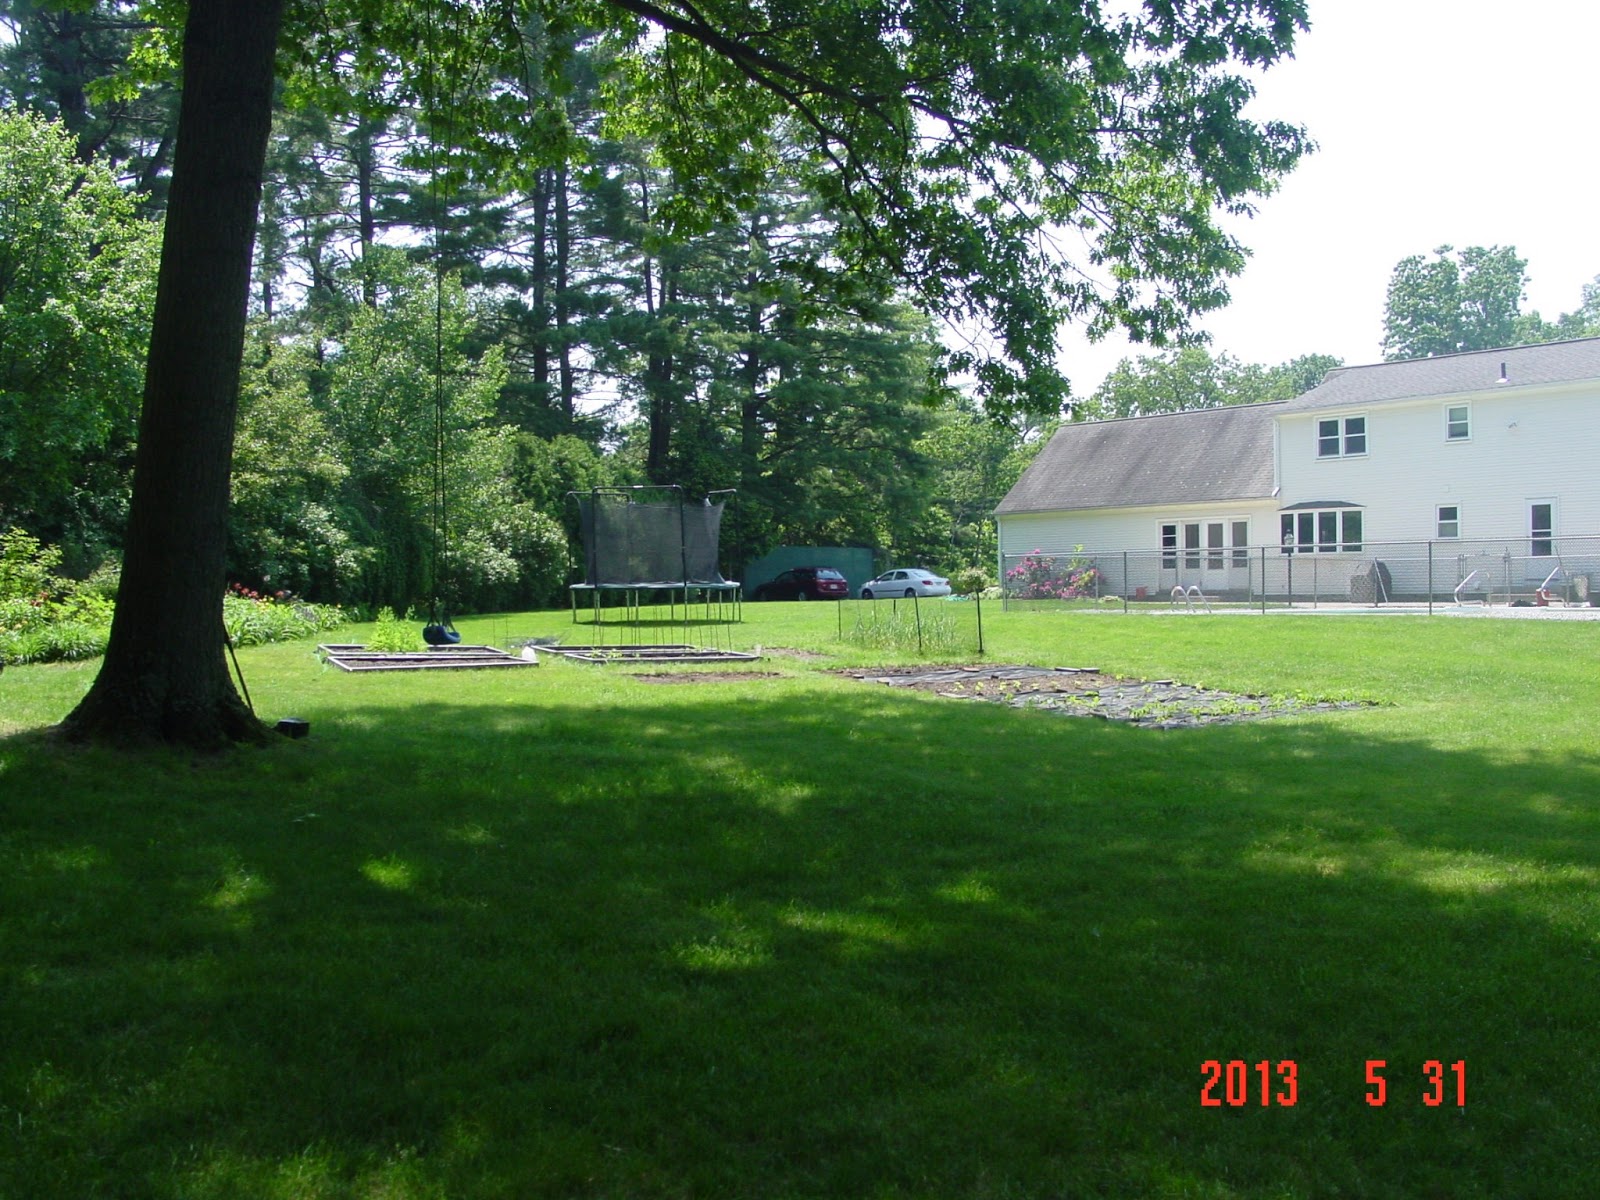
Everything is finally in the ground!  Now I just have to water, wait, and watch out for problems.

I planted the following seeds today:
  • watermelon (Carol's)
  • cantaloupe (Carol's)
  • zucchini
  • yellow squash
  • green beans (bush)
  • black turtle beans
  • basil
  • cilantro
  • yellow marigolds
  • zinnias - 3 varieties
  • bachelor's buttons
  • asters
  • sunflowers - 4 varieties
James planted the following seeds today:

  • pumpkins
  • sweet corn
  • Italian pole beans

Wednesday, April 24, 2013

Garden Notes - April 24, 2013


Lots of grape hyacinth growing.


Lots of lovely daffodils and warm weather!


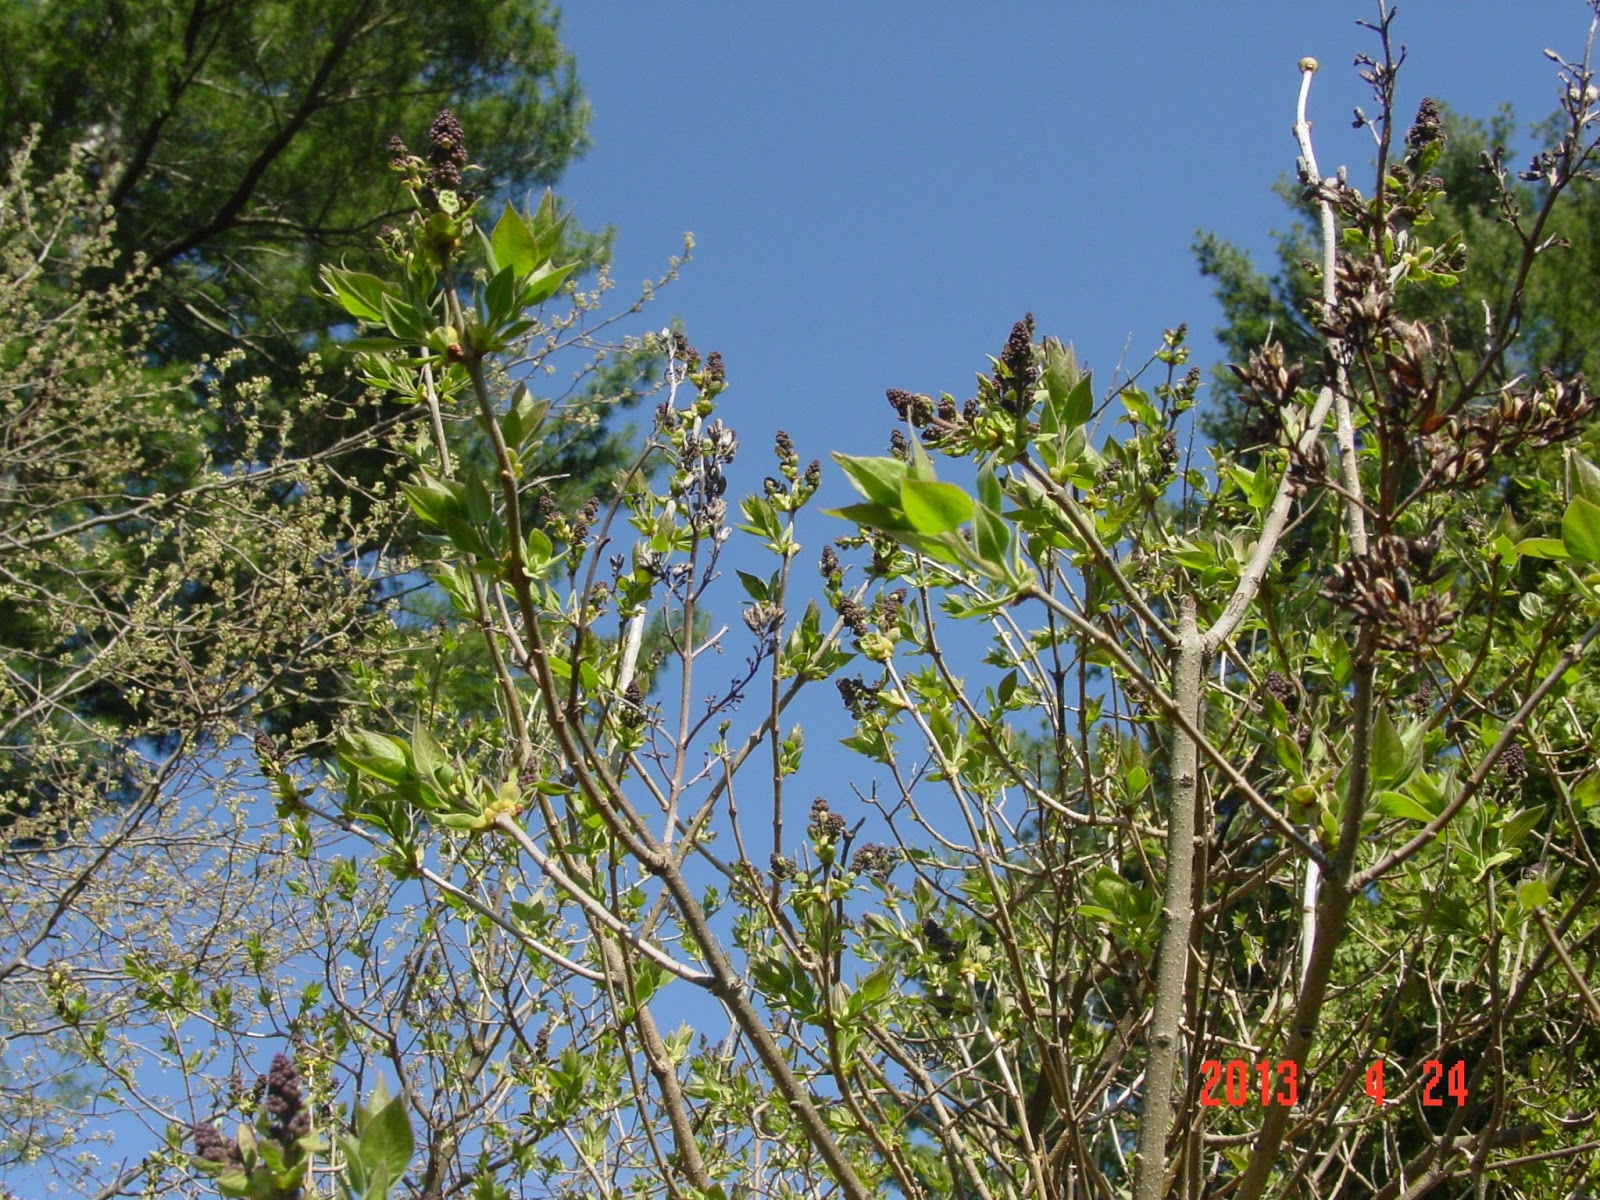
Lilac buds are visible.


Little tiny seedlings from all the seeds I scattered:  poppies, foxglove and cleome.


The lettuce is doing very well!


Jamie - taking care of the dandelions around the pool.

Monday, April 8, 2013

Sowing Tomato Seeds Indoors

I sowed 4 different kind of tomato seeds on Saturday, April 6th - plum, yellow pear, grape, and heirloom.  I decided to use the plugs and the "mini green houses".  They are on the heating mats in the basement.  The seed packets did not say how long it would take for them to sprout.

4/17/13
Just about all of the seeds have sprouted and some of the "Bellstar" even have their first true leaves.

4/19/13
Today, I transplanted about 8 tomato plants that have grown their first true leaves.  I used the procedure I found in Nancy Bubel's The New Seed Starter Handbook (pp. 43)  See Chapter 8 - "Transplanting into New Containers".

Actually, I kind of combined some of the procedures.  I had already transplanted a pepper seedling and 4 marigold plants last week, and all seem to be doing well - even the pepper plant (which is the lone survivor from an entire flat).  Here are the marigolds:


So I decided to do more:  I rolled up 2 layers of newspaper around a salt shaker (any jar will do), taped the side and the bottom, put some moss on the bottom (optional) and then filled will slow-release fertilizer potting soil.  I moistened the soil before I filled the "cups". Then, I carefully removed the seedling form the peat plug.  Today, I actually put the peat pot right in the soil, because I noticed that the roots had grown right through the sides and bottom, and because I felt that I was harming the little plants.

Here are some of the tomato plants:


These should be able to stay right in these containers until they go in the garden.

Tuesday, April 2, 2013

April Last Year


I found this in on my computer in my documents - not a very effective way of keeping records.  I prefer this blog because it allows me to keep everything so organized and I can find anything I need with a click of the mouse.

Rereading this entry from last April reminded me that it was actually hot at this time last year!  Today (April 2) was freezing!

Here are my notes from last year:


April 16, 2012

Today is unusually warm for Massachusetts – 91 degrees!  We had mulch delivered on Saturday, the 14th, so Jamie has been laying it all around the garden beds up front – to start.

I have been yanking weeds.  Buckets full.  I feel like I’m wasting a lot of time, but I also feel like it’s better to yank them than to pour more chemicals in our yard.  Also, if I yank them, hopefully they won’t spread their seeds.  I read that the grass has a better chance of growing thicker when it doesn’t have to compete with the weeds. Makes sense.

We hired WEED MAN to do our lawn for us this year, but we asked them not to touch the yard on the side of the pool by Jan’s house, because that’s where a vegetable garden is going.  We don’t want any chemicals touching any veggies we’ll be eating.

We have asked Joe to mow our lawn for us.  Two calls to him so far.

I am ordering another grow light.  I resurrected one that I bought about 20 years ago and have put a bunch of seeds under it:  snapdragon (3/?), poppies (?), plum tomatoes, peppers, cosmos (4/2).  So far, everything is taking off except the peppers.  I’m a little concerned because the tiny plants seem to reach a certain height and then flop over.  I see this happen with all of them except the poppies – probably because they are still quite small.  Overcrowding is another problem.  When I go to thin the plants, I end up killing some of them because they are disturbed.  Next year I will sow the seeds more sparingly.

I started a compost pile behind my shed.  I admit, I don’t really know what I’m doing.  But you have to start somewhere!  I threw in all the grass that grew into my flower beds, all the weeds that I yanked, plus stuff from my kitchen, like old broccoli, green onion tops, orange rinds, banana peels and a little spaghetti.  Don’t know if any of this is off-limits for a compost pile, but I guess I will learn.

I planted some sweet pea seeds in a shallow terra cotta container.  I plan to make a trellis for it out of branches when the little plants emerge.

I need to get all of my tools organized so that they are easy to get to and don’t get lost in the shuffle.

I had to stop myself from ordering a half dozen books online last night.  I have so many questions, so many goals.  I need to remind myself constantly that there is no rush… I have lots of time to learn and it’s OK to make mistakes.  I need to enjoy the process, just as I have enjoyed learning the process of cooking over the years.

April 23, 2012

I’m reading a book called Square Foot Gardening, by Mel Bartholomew and I am really excited because it makes gardening seem so much easier, not so overwhelming.  Already I got a great tip for starting seeds – don’t use nearly as many seeds when starting plants, and cut the extra seedlings with scissors instead of ripping out.  So smart!


I set up my new grow light and moved it into Jamie’s room.  He insists.  Poor guy – it seems so bright!  I sowed more seeds tonight – dill, parsley, zinnias and basil.  I discovered that my peppers, which are finally starting to shoot up after 21 days, are organic, so I will be able to save seeds.  The plum tomatoes are also organic.  I made little signs to put in the trays and removed the seed packets, which were getting wet.  Supposedly, the seeds will last for a few years if stored properly.  I have them in a little plastic filing case but need to find something bigger.

May 3, 2012

I planted more seeds on the 27th, April:  3 different kinds of zinnias, cucumbers and zucchini squash.  I’m beginning to realize that I should have started the seeds earlier.  The plants are all tiny – especially the snap dragons.  I guess I’m supposed to put a heating pad under the seeds.  Maybe I’ll try that next year… I don’t know.  It seems like growing seeds can get kind of expensive after a while.  Might as well just go out and buy the plants!  I’m keeping track of all of my expenses, so I’ll see whether it’s worth it or not.  Any way, it is a good thing to know how to grow things.

That 90 degree weather we had a couple of weeks ago convinced some of the shrubs to send out its blooms a little early.  A few nights ago, we must have experienced a frost, because I noticed our lilacs are almost dead, and I barely noticed they were out yet.  Some of the azaleas were also affected.  I made me sad to see all the little frost-burned lilacs and white flowers.

I mowed the lawn for the first time the other day – good thing, too, because we’ve had nothing but rain since.  I did the front; Jamie did the rest.  I want to take care of our own lawn, because I think it’ll look better if we take more of the responsibility on ourselves.  I need to start reading more and make some plans to care for this lawn.

I spent a lot of time cleaning up the flower bed by the garage.  Grass had grown through where juniper and phlox are supposed to be.  I’m going to lay some new weed cloth there.

Finally, I went to Lowes and priced boards to make my square foot gardens.  It’ll cost about $10 per garden for the wood.  I need to find someone to help me cut it, since Jamie doesn’t really have the tools, and neither of us have the know-how.

April To-Do List


Outside:
  • Begin working and amending the soil (if it needs it)
  • Add lime to the vegetable garden (it needs it this year)
  • Add elemental sulfur to blueberry hedge and other "acid-loving" shrubs (if needed)
  • Prune apple trees and other fruit trees BY FIRST WEEK!!!
  • Weigh down branches on fruit trees to encourage wider crotch angles
  • Prune rose bushes when forsythia blooms
  • Fertilize rose bushes before their leaves appear
  • Scatter seeds in perennial bed (poppy, foxglove, cleome)
  • Continue pruning bushes that need it - most should have been done in March!
  • Sow seeds indoors: 
Seeds, Indoors:
  • Cucumber : April 26 (Started on April 17th, transplanted April 28)
  • Tomatoes: April 12 - 19 (I started these on April 6th; by April 17, all have sprouted)
  • Marigolds -French, Snowball:  April 12 - 26 (April 17)
  • Marigolds - Yellow: (started April 25)
  • Dahlias (Potted on April 23)
  • Zinnias:  April 12 - 19 (Started on April 17th)
  • Basil:  (started April 25)
  • Cabbage:  (started April 25)
  • Cantaloupe: (started April 25)
  • Watermelon:  (started April 25)
  • Bachelor's Button:  (Started April 17)
Tubers, Indoors:
  • Bring out dahlia tubers and start indoors by mid-April
Update:  Today is May 6th and I still have 3 weeks before I put my plants in the garden.  When the time comes, I will determine whether I should have started any of these earlier or later.

Monday, April 1, 2013

Scattering Annual Flower Seeds in the Perennial Bed

I have been dying to grow poppies for years, but have never had any luck, even when I've purchased the plants from garden centers.  They never do well, and they never grow back the next spring.

One of our instructors at the WMMGA told us how she scatters a variety of seeds in her gardens at this time of the year - late March/early April.  Some of these seeds are annual poppies!

So, using Tracy's instructions, I scattered poppy seeds, cleome seeds and foxglove seeds.  I was hoping to scatter some snapdragon seeds, but I never got around to purchasing any.

Tracy told me that I would have to rake up the mulch so the seed would have contact with the soil, and that I should run the rake over the soil a little bit to rough it up.  So, as I started to rake up the mulch, I realized that I would have to clear away all the oak leaves that had gathered during the end of the fall and winter.


There were actually a lot more leaves than this, but this is all I captured on my camera.  See all the green poking through!  Any way, it took me about an hour to rake up all the leaves.  I got a space among 4 rose bushes and the largest butterfly bush ready for the seeds.  What I didn't realize was how few seeds I would get in each packet, and I only purchased one packet each.  If I'm successful with this venture, I will buy at least 2 packages of each next year.

Tracy reminded us that it's very important to learn what the seedlings of each flower plant looks like, so that they won't be mistaken for weeds and yanked out.  After the seedlings have become a little larger, then we can replace the mulch.

April 7
I looked around the perennial bed yesterday for signs of life, but saw none.  It's been dry.  Our well hadn't been opened yet... I don't know if I was supposed to get out there and water.  I got the impression that you just scatter the seeds and voila!  Instant meadow of wildflowers.  It did rain tonight, and the next few days are supposed to be sunny and warm.

April 9
I scattered some seeds that Lynn Puffer gave me:  moonflowers and cleome.

May 6
Still no signs of life.  I read somewhere that the seeds need soil in order to grow, whereas my perennial bed is mostly mulch.  I did try to rake it away, but obviously not good enough!  Also, I read that foxgloves do best in "dappled shade".  This bed that I picked is in full sun.  Well, back to the drawing board!

Garlic, Lettuce, Green Onions and Spinach

I noticed last week that my garlic is growing.  I planted the little cloves in October (? - I'll have to check on this) and was so pleased to see their little green tops poking through the soil.


I remember reading in Joy of Gardening that it's good to grow green onions, lettuce, spinach and even carrots with the garlic.  I'm not planning on growing carrots this year, but I did sow lettuce, spinach, and green onion seeds in the garlic bed on Saturday, the last day of March.  All the books/seed packets say that the seeds should be sown directly as soon as the soil can be worked.  It seems like it should be so easy, but again, this is a first for me:  I read the back of each seed packet and tried to carry out the instructions.  We'll see how well things turn out!  I planted the onions in only half the bed - trying to avoid the garlic, and I planted 4 "bands" of lettuce, so that I can do some "succession planting".  Finally, I planted spinach in the other half of the bed.

After I planted the seeds, I realized that we haven't opened our pump, so I didn't have a convenient way to water the seeds.  Then, I couldn't find a watering can, and I couldn't find enough hose to reach the bed from the outside faucet.  Thankfully, it rained yesterday, and we're expecting more rain this week. 


I like this picture because all the garlic tops are visible.  That's my shadow.


Here's my other Shadow... in the shadows!

Sowing Eggplant, Thyme, Marigold, and Pepper Seeds

I started some new plants today, and I found it was super-easy because I purchased a couple of "greenhouses".  These include the tray, a clear plastic "greenhouse dome" and 36 pellets (or "plugs").  For only $5.00 apiece at Ocean State Job Lot, this seems like the way to go!


So easy!  I filled 2 trays with warm water until the pellets expanded into little pots with soil.  Then I put a seed or two into each one, covered with a little peat moss, put on the dome and finished!  I didn't forget to label the trays, so I won't forget which plants are growing in which tray.  Then, I placed them on the heating pads in my bedroom.  And, I won't forget to take the domes off and give the plants light as soon as they begin to emerge!


What I'm growing: 
  • German Winter Thyme:  14-21 days to germinate (this took 3 days with heat)
  • Eggplant, "Galine" (this took 5 days with heat)
  • Marigold, "Snowball":  7-14 days to germinate (this took 2 days with heat)
  • Pepper, "California Wonder":  10-21 days to germinate (beginning after 7 days, but slow)

These are the thyme sees, after just 3 days.

April 7 - These thyme seedlings are now a week old, and still tiny-tiny.  I wonder how I'm supposed to thin them and transplant them, as they seem so small and delicate.  I wonder if I should have sprouted them in wet paper towels first, and then transplanted each one in its own, separate pot?  Maybe I'll try that next time.


Here are my eggplant seedlings after 7 days.  They look pretty good:


Pepper Seedlings and Damping Off

April 1, 2013
Well, these peppers have been very challenging.  I have already discovered a couple of mistakes that I have made, but not before I have lost almost a dozen seedlings.

First, I waited too long to uncover the seed flat, turn off the heating pad, and place it under a grow light.  As a result, the seeds that emerged experienced root rot, or "damping off".  I didn't realize that I have to do this when the seedlings first emerge.  I thought I had to wait for most of them to emerge.

Second, I was watering the plants too much.  The problem actually began when I first sowed the seeds, because the planting medium was difficult to water.... the water floated to the top.  In the future, I will moisten the medium before I plant seeds, and then I will water from the bottom.  The first time I watered from the bottom, I filled the flat 1/2 full of water.  This saturated the soil, which is not good! Now, I pour only a little bit of water underneath.

I went to Sixteen Acres Garden Center to purchase a fungicide, because one of my books recommended it; however, I couldn't find anything that is specifically for seedlings.  Someone at the garden center said to put the seedlings in a sunny window to let any fungus dry out.  I did exactly that when I got home.  Thankfully, it was a sunny day, and the little seedlings responded beautifully.  They seem to do better in the sunlight than under the grow light. 

I was very discouraged at one point and almost threw the whole flat out, but this morning I discovered that many new seedlings have emerged.  So, even though some of the seeds germinated in just one week, many of the other seeds required two weeks to emerge.  I'll need to remember this when waiting for any seeds to germinate! 

The other day, when I was feeling discouraged, I picked up a new packet of pepper seeds and a tray with pellets.  I'm not giving up!  I am determined to learn how to grow healthy pepper plants!

April 2
Still discouraged.  The seeds continue to sprout, but the leaves and roots continue to rot.  I picked off 3 more seedlings today out of the flat, and saw fungus on one of them.  The soil looked dry, so I added a little water, but it turned out to be too much water. I still have roughly 30 seedlings/sprouts.  A few look really healthy.  I'll be happy if I can get a half dozen healthy plants.  We'll see....

April 5
I have decided to scrap the whole tray, except for 3 seedlings that seem OK.  The rest all show signs of rot.  Very depressing.  I took the 3 remaining seedlings and stuck them in a jar with some damp paper towels and put them in a sunny windowsill.

April 6
I am going to try to plant each seedling in its own pot and see how they do.  Not expecting much.


Wednesday, March 20, 2013

Online Garden Planner

I found a gardening catalogue in my mailbox the other day, from Gardener's Supply Co., and took some time that night to brouse through it.  I actually saw some neat things to use in the garden.  I especially like their cages and trellises for vines - cucumbers, tomatoes, peas, etc.

In the catalogue, there is a note about an online tool that the company has to help you plan your garden.  It will tell you how many plants you need to plant per square foot of whatever vegetable you chose to plant.  After you have selected the size of your garden and you have "dragged" the vegetables into the squares within the grid, the planner will give you planting instructions for each vegetable plant.  I spent some time on it last night and printed it out today.  I did not plan my actual garden; I used the planner to determine how many plants of each type I can plant in each square foot.  I also wanted the short, basic planting instructions.  Here is the link to view my plans: http://www.gardeners.com/on/demandware.store/Sites-Gardeners-Site/default/Page-KGPJS

Monday, March 18, 2013

Sowing Pepper Seeds

Yesterday I put together a list of plants that need to be started indoors in the month of March.  I got the information for starting dates right off of the seed packets.  However, I decided to consult 2 of my "seed starting" books, Seed Sowing and Saving, and The New Seed Starters HandbookTNSSH suggested starting the pepper plants as early as late January or February, so I decided to start mine a couple of weeks before schedule: Today!

I decided to put my learning to use.  The first thing I did was drill lots of holes on the bottom of a large 20" x 10" flat.  The reason for doing this is so that it will fit into another flat of the same size, so that I can water the seedlings from underneath. This was very easy.

Then, I sterilized the flats, water sprayer and spoon in a bleach solution - 9 parts water, 1 part bleach (I did this in the bathroom while wearing my white bathrobe).  My only thought here was that I wasn't sure whether to sterilize all the flats, since I had the solution ready to go.  I guess my concern is that the flats will only get germy while waiting around to be used at a later date. March 26- I learned in my WMMGA class today that the sterilized containers are only good for 2 hours; you can't wash everything in the bleach solution and leave overnight.

OK. Now in the kitchen.  This is when I realized that it would be great to have my own little space somewhere in the house where I can do this work.  I think I'm going to have to invest in a table and shelves and more lighting.  This reminds me that I'd like to do a post on "equipment". 

So, I filled the flat with holes with maybe an inch of sterilized soil (8 qt. bag for $2.00 from OSJL).  I used a straw to make 1/4-inch indentations in the soil for the seeds.  I planted 2 different kinds of seeds:  sweet peppers (Carmen) and green-to-red bell peppers (Snapper). All was going well until I had to water them.  I poured a 1/2-inch of water into the bottom flat and laid the seed flat on top.  It just floated.  And that's when I remembered that it's very difficult to water seed starting medium, and that I should have moistened it before I started.

I emptied out the bottom tray and decided to spray the surface of the seed flat with a fine mist instead.  This, too, is difficult in that the water seems to stay on top instead of soaking into the soil.  Oh well.  I sprayed a couple of ounces and covered the flat with plastic wrap.  This step made me realize that it would be awfully nice to have durable plastic covers.  Maybe some day.  This "hobby" can get expensive.

The flat is now sitting on a bookshelf in my bedroom, with a heating mat underneath.  Pepper seeds need the soil temperature to be at least 80F in order to germinate.  I have my trusty little laser thermometer nearby to give me readings.  The soil was 66 degrees about 15 minutes ago. It's now 69 degrees... 10 more to go!

My book says the seeds could take 2 to 3 weeks to germinate, but perhaps not so long at 80 degrees.  In another book I read that pepper seeds take about 10 days to germinate.  Either way, I hope this works.  I tried to grow peppers from seed last year, but they never even sprouted.  I later learned that the soil was too cold.

Reminder:  Label the flats so you know which plants are which.


Sunday, March 17, 2013

March - To Do List

  1. Send soil samples to UMass.  Take samples from perennial bed, vegetable gardens, orchard, blueberry hedge, apple trees and front gardens.  This can also be done in September; actually, it's better to do in the fall when the lab is less busy and well before anything is planted.
  2. Prune butterfly bushes, hydrangeas, forsythia, blueberry bushes, and apple trees.
  3. Purchase more self-watering containers.
  4. Clean tools (if they weren't cleaned in the fall)
  5. Start seeds indoors (see list)
  6. Start cool weather plants as soon as soil reaches ____ degrees, and as soon as soil can be worked.
  7. Clean out garden beds.
  8. Scatter flower seeds in perennial bed:  cleome, poppies, foxglove, snapdragon.
  9. Take pictures of everything!
  10. Clean out/organize shed, basement and garage.
Seeds - Indoors:
  • Peppers:  early March
  • Eggplant:  late March
  • Thyme:  late March
Seeds - Outdoors, direct sow:
  • Lettuce: early spring, succession planting
  • Spinach:  early spring
  • Kale: early spring
  • Green Onions: early spring
  • Foxglove:  late March, early April
  • Poppies:  late March, early April
  • Snapdragons:  late March, early April
  • Cleome:  late March Early April