Showing posts with label Gardening Supplies. Show all posts

Monday, May 6, 2013

Potting Soil

This is the first year that I have ever had any success with growing plants from seed, but what a learning experience it has been!

One of the challenges I always face is "damping off" , or "root rot", due to over-watering.  This year (aside from my first try at pepper plants) everything has gone really well, thanks to peat pellets. I tried 2 different kinds, peat and soil pellets and like the peat pellets better (I lost a whole flat of marigolds using the Jiffy pellets).

I noticed that the seedlings I transplanted first have done so much better than the seedlings I did in the following weeks.  I think it's because of the potting soil.  The first potting soil I used had a slow-release fertilizer incorporated in it.  Then, when I ran out, I was tempted to buy a really cheap potting soil called Jolly Gardener.  Well, this gardener isn't feeling too jolly!

The second potting soil was damp in the bag, and felt really heavy.  I think the dampness hurt the roots, because the plants have pretty much stopped growing.  I have tried a new potting soil called Fox Farm Ocean Forest (FFOF) which has been touted all over gardening forums.  Still, my seedlings seem dejected.  I think the longer the seedlings sit around in their peat pots, the more they lose energy to grow.

One of the biggest questions I have had is how and when to fertilize the plants.  Again, the first potting soil with the slow-release fertilizer seems to have worked best.

Last week, I started getting extremely concerned because I noticed some of the tomato leaves looking a bit shriveled, and I discovered some tiny bugs floating around.  Someone at the garden center told me that I probably have fungus mites, due to dampness.  Darn that Jolly Gardener! Her recommendation was to bring the plants up out of the basement to get some air and dry off.  So that's what I did.

Any way, here is a photo comparing two tomato seedlings, both sown on April 6th.  What a difference!


In all fairness, the plant on the left was sitting in a peat pellet for at least 2 weeks while I waited for it to develop true leaves.  I'm not sure why some of the plants grew so much quicker than the others.

Wednesday, April 24, 2013

Grow Lights


My mother and I were on the phone the other day, talking about our gardens, and she told me that she used to grow plants in the basement, using a light and a card table.  She said that her system was kind of "crude", but it made me think that we all have to start somewhere.  This is the first light I used:


So high tech!  Then last year I sprang for a Hydrofarm Grow Light:


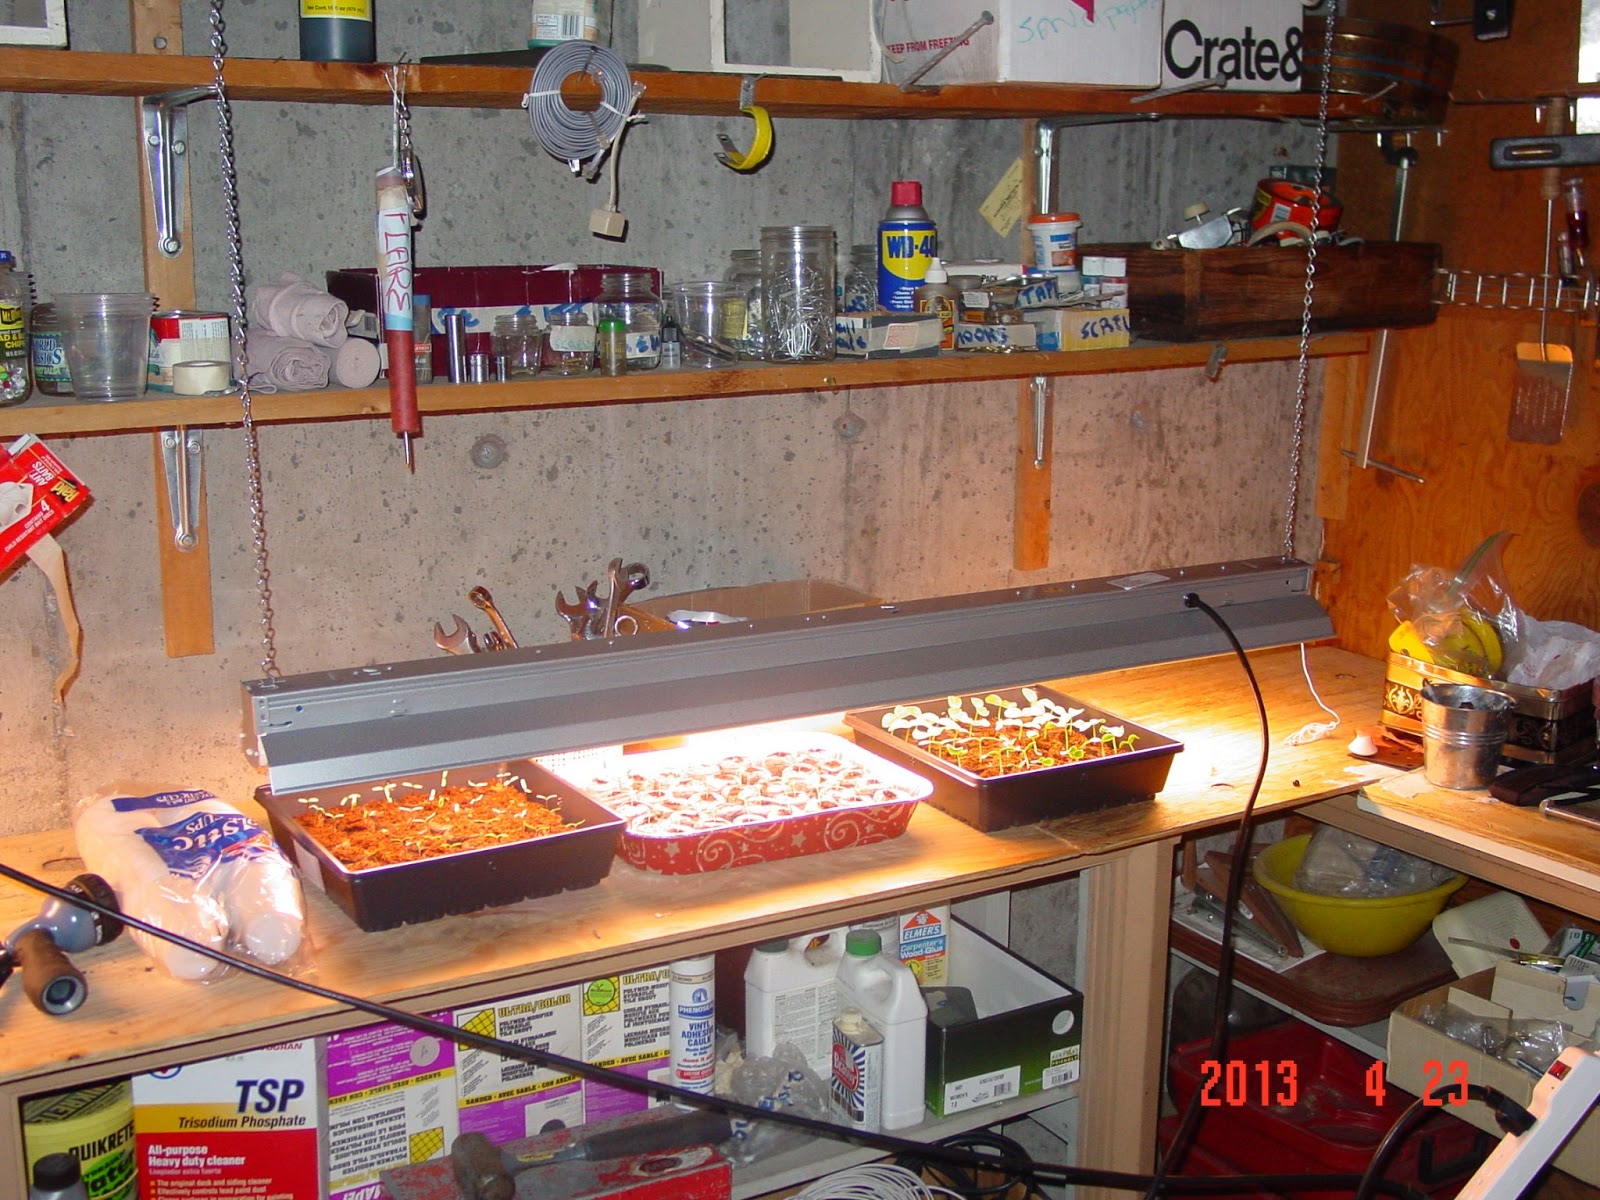
It's OK... not the greatest.  But then in my WMMGA group I learned that I can grow plants using ordinary florescent bulbs.  I set one up about a week or so ago, but now I have so many things growing, that I need to add another one:
 
 
These lights were very easy to set up, and cost about half the price.  This is what I purchased:
  • A 4-foot All-Season shop light
  • (2) 48-inch T8 32 watt florescent bulbs
  • (2) 4-foot chains to hang the light from the ceiling, so I can raise and lower it as needed
  • (2) 1-1/2 inch cup hooks, on which to attach the chains to the ceiling


Tuesday, April 2, 2013

Pruning Apple Trees at Cold Spring Orchard

Today, I joined other "master gardeners" at Cold Spring Orchard in Belchertown to learn how to prune apple trees.


It was freezing!!  But, as this is the time of year to prune fruit trees, it was good experience.

This is Dr. Wes Autio, a specialist in fruit trees.  He is a professor at UMass and was our instructor today:


One of the first things we learned is that a true horticulturist only uses the best quality tools.  That goes for aspiring horticulturists like myself.  Hmm.  Guess my OSJL tools don't count.  I didn't dare take them out of the car!

Wes suggests buying our tools from Oesco (Orchard Equipment Supply Company) because they have the best tools available, and because they are a local company (Conway, MA).  I picked up one of their catalogues when I went to the blueberry pruning seminar last month.  The tools needed for proper pruning are hand-pruners, loppers and pruning saws. Some of the brands Wes highly recommends are Felco, Barnel, Pica (hand-pruners) and Silky (saws). 


In this picture, he is demonstrating how to sharpen tools.  In his right hand is a sharpener (diamond stone, "medium").  You are only supposed to sharpen the beveled side.  Run the sharpener along the bevel, against the cut itself, then turn the blade over to clean the bur (deburring) by rubbing the sharpener flat against it.

Also, it is recommended that you oil the tools with a light oil and keep them clean, either with water or WD-40 (I actually discovered that we have a can of this in the basement!).  Wes says he doesn't worry too much about disinfecting the tools, and says that it is not necessary unless you've been working with plants that are diseased.

Now, for the apple trees!


I can just picture this place when the trees are in bloom!!

We were all given a bookmark/factsheet about apple tree pruning and training:
  • Sunlight turns buds into fruit buds.
  • Training and pruning should maximize sunlight in the tree.
  • Shade is your enemy - All parts of the tree should receive sunlight.
  • Pruning Stimulates new shoots which will produce fruit buds the following year and bear fruit the next year.
There are seven rules, to be completed in order:
  1. Remove 2 or 3 of the largest limbs in the top two-thirds of the tree.
  2. Use the 2-1 rule (diameter-based pruning).  Remove any scaffold branch or limb that is half the diameter or larger than the central leader.  A branch of this size chokes out the leader, not allowing the tree to reach optimal fruiting capacity.  Use bevel cuts to remove these limbs.
  3. Avoid heading cuts - remove the entire limb instead.
  4. Avoid complex branches in the lower one-third of the tree.  As branches on lateral limbs get older they develop additional branches.  This is what we call a complex branch.  Leave the smaller pencil thick fruiting shoots.
  5. Remove downward hanging branches.
  6. Remove shoots that are growing straight up.
  7. Leave one shoot as a central leader - do not prune it.

Wednesday, March 20, 2013

Online Garden Planner

I found a gardening catalogue in my mailbox the other day, from Gardener's Supply Co., and took some time that night to brouse through it.  I actually saw some neat things to use in the garden.  I especially like their cages and trellises for vines - cucumbers, tomatoes, peas, etc.

In the catalogue, there is a note about an online tool that the company has to help you plan your garden.  It will tell you how many plants you need to plant per square foot of whatever vegetable you chose to plant.  After you have selected the size of your garden and you have "dragged" the vegetables into the squares within the grid, the planner will give you planting instructions for each vegetable plant.  I spent some time on it last night and printed it out today.  I did not plan my actual garden; I used the planner to determine how many plants of each type I can plant in each square foot.  I also wanted the short, basic planting instructions.  Here is the link to view my plans: http://www.gardeners.com/on/demandware.store/Sites-Gardeners-Site/default/Page-KGPJS