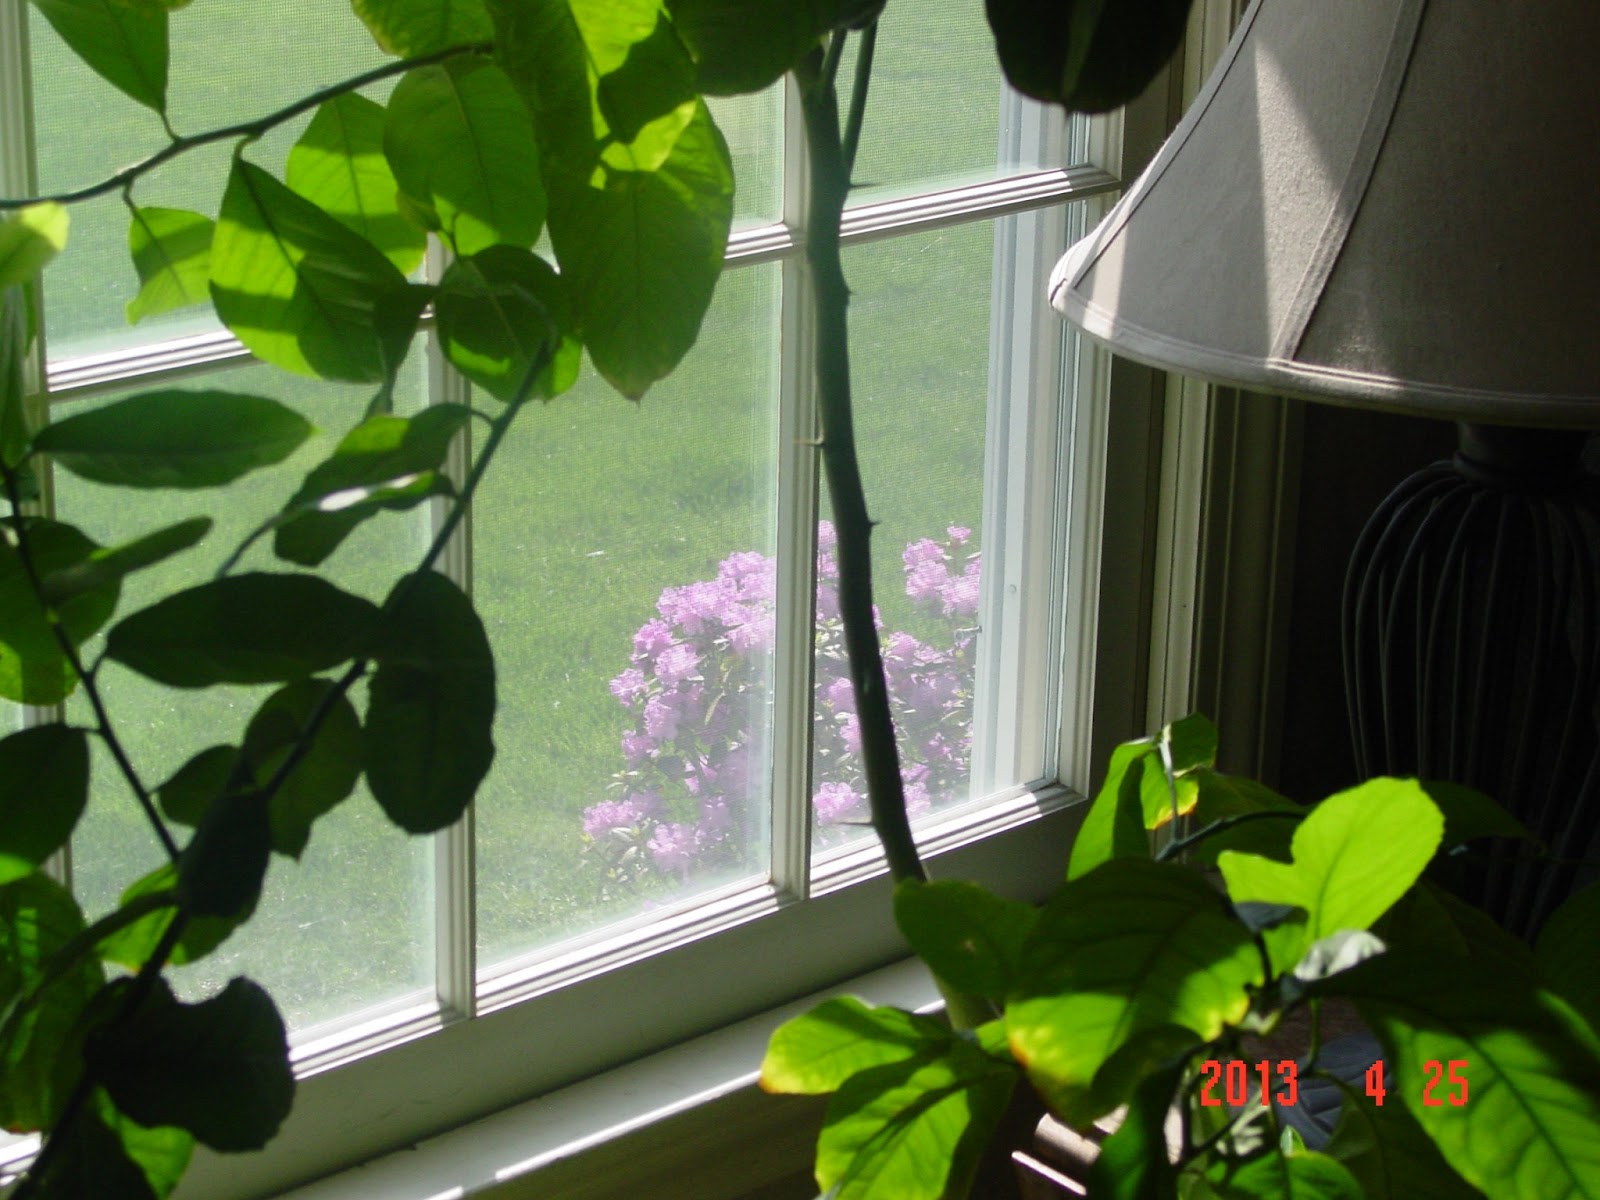
Showing posts with label Fertilizing. Show all posts

Friday, September 6, 2013

My Lemon Trees Have Yellow Leaves

I have two lemon trees, and I am the first to admit that they don't look that great. But, I also grew these from seeds and admit that I didn't know a thing about fruit trees until I joined the Western Massachusetts Master Gardeners Association.

The trees are 6 years old and have never grown 1 lemon.  I've yet to see any flowers, and half the time I'm lucky if the trees have branches ( I used to get a little carried away with pruning).

So this year, for the first time, I brought the trees outside and I fertilized them at least every 6 weeks with a citrus fertilizer.  I did see a lot of growth and I've had to prune the trees back a little.  I really need to get bigger pots for them, but I'm afraid I won't be able to carry them in the house if I do.

Anyway, lately, the leaves look very yellow and are beginning to drop off - even with all my extra care! 


I went online to see if I could find a cause and a solution for yellowing leaves, and discovered a forum on gardenweb.com. After reading many comments, I decided to get my hands on some Dyna-Gro Foliage Pro.  Many growers of lemon trees swear by this stuff.  I bought a small bottle that I found on amazon.com and have saved the customers' reviews page.
 
Today, I mixed a teaspoon of DGFP with a gallon of water and fed the trees.  Then I used the solution half-strength (1/2 tsp. per gallon) to spray on the leaves. I simply filled a spray bottle half-full with the solution, and then filled the rest with plain water.  I hope this helps to really green the leaves up. I will post results as I see them.
 

Monday, June 10, 2013

Lemon Trees Sending Out More Growth

I'm so excited about my lemon trees, because they continue to send out lots of new growth.  I'm hoping that one day soon, I'll be seeing lots of blossoms! That would be quite a reward!  All this new growth is due to fertilization and pruning.  I'm due to fertilize the trees again this Friday (June 14).


Basil Leaves Turning Yellow and Brown

I noticed the other day that my basil plants don't look quite as green and healthy as they did when I first removed them from the garden and put them in a container.  I did this because something (probably a rabbit) was eating them:


I went online to see if anyone could offer any reasons for this, and read a few:
  1. They may be getting too much sun.  This could be the case, since I moved the plants to the poolside, which gets lots and lots of strong sun.
  2. They may need some nitrogen and phosphorus.  I decided to use a fertilizer for herbs called Garden-Tone, and I sprinkled about a tablespoon around the perimeter of the pot.
  3. It could be due to the fact that I just transplanted them, and the plants are in recovery-mode.
  4. It could be due to too much water (although I doubt this is the reason).
I took the pot out of the pool area and stuck it on a table near the house.  It will get a lot of morning sun, be safe from any rabbits, and get some relief in the afternoon.  Between this change and the fertilizer, I hope they start looking better.

Sunday, June 9, 2013

Fertilizing Shrubs and Trees

Blueberries  (from blueberry seminar – see blog)
  • Fertilizer - use ammonium sulfate, NOT aluminum sulfate. Be careful here!
  • Yellow leaves indicate an iron deficiency and high pH.
  • Do not need to fertilize the first year; second year - use ammonium sulfate, 2 oz. per bush; mature plantings - use ammonium sulfate, 8 oz. per bush or 1/2 lb. cottonseed meal per bush.
  • Fertilize in spring or early summer, BEFORE JULY 4.  Avoid winter injury by not fertilizing after July 4.
  • A dose of acid-based fertilizer in late fall will give the plant a good start on the growing season. Adding a good layer of compost helps fertilize the plant and adds organic matter to the soil.
Lemon Trees
  • Citrus tress need to be fertilized. They are heavy feeders and need adequate levels of fertilization in order to obtain adequate growth and production.
  • The amount of fertilizer applied to a citrus tree depends on the size of the tree and how much fruit it produces.
  • It is best to fertilize all citrus trees with a special citrus fertilizer that contains minor elements like magnesium, manganese and baron. However, if such a fertilizer is not available, use a common 6-6-6 general fertilizer. As long as the mature leaves are healthy, showing a good deep green color and full size, continue with your program.
  • Occasionally, the leaves will show yellow patterns. When this occurs, use a complete nutritional spray that can be found at most garden supply stores. It will generally contain zinc, manganese and boron. Some will also contain copper.
  • Fertilizer Program for young trees: The following recommendations are based on an 8-0-8-2-0.5-0.1 citrus mix fertilizer. Do not fertilize trees recently planted until new growth starts. Fertilize according to instructions on package when the new growth appears; then, each six weeks thereafter, until October. Do not fertilize young trees after October.
  • Application rates for fruit bearing trees: Be consistent and fertilize about the same time each year, make four applications as follows: First in March; second in May; third in August and fourth in October. The amount of fertilizer to use at each application can be determined by a simple method. Measure the tree trunk circumference in inches at its greatest point near the soil level and divide that number by the number of applications per year (four applications suggested). For example, a tree measuring 20 inches in circumference needs 20 lbs of fertilizer per year. If four applications are used per year, then 20 divided by four will make 5 lbs of fertilizer per application.
  • Using  5-10-5 fertilizer and three applications; the first in mid to late May (for spring planted roses the fertilizer should be applied after new green vegetative growth begins), the second in mid-July, and the third in the autumn after a killing frost, or very early in the spring before new growth begins.
Azaleas and PJM’s (rhododendrons)
  • Rhododendrons and azaleas benefit from an annual fertilization.
  • Apply the fertilizer either in late autumn after a hard freeze has occurred, or in the early spring.
  • Regardless of the type of fertilizer used, no fertilizer should be applied after the first week in June. Fertilizer applied after this date may spur late season growth that does not have sufficient time to harden before freezing temperatures occur in the fall, and late growth will likely be burned or killed.
 

Fertilization Schedule

Trees and Shrubs

Lemon Trees - May 3, 2013
                        June 27, 2013 (every six weeks until October)

Blueberries - Apr. 24, 2013 (early spring)

Roses - April 2013 - before new growth,  or after a killing frost
             Mid-to-late May
             Mid-July
            
Azaleas and Rhododendrons - Apply in late fall after a hard freeze or early spring
Hollies - late fall
Fruit Trees - late February to Mid-March
Hydrangeas - twice during the summer, not after August

Vegetables

Tomatoes - at time of planting, when first fruit sets, and then every week to 10 days

Friday, May 24, 2013

Fertilizing Cucumber Seedlings - Don't

This year is the first year I've had much success with seedlings.  I tried last year, but my little plants were miserable because I didn't know what I was doing.

This year, I have been much more successful, but I'm still learning from my mistakes!

I decided to give my plants a little fish fertilizer because I watched another gardener do it in his video for his tomato plants.  Mine were still kind of small, the leaves seemed to be withering, so I thought maybe they needed a little food.  It helped the tomato plants a little....

Afterwards, I read that it is not necessary to give seedlings fertilizer until they are more mature.  I was giving it to all of my seedlings and it especially had a negative effect on my cucumber seedlings.  I won't do this again!  Compare the dark green leaves with the yellow-green leaves.  Half the seedlings are dark green, the other half are yellow-green.  I did decide to put some of the yellow-green plants in the garden, but I am also going to put in some seeds to start some new plants.

Potting Soils - The Results Are In


Well, I made an important discovery:  the type of potting soil you use is extremely important. 
 
The plants in all of these pictures were started by seed at the same time, yet some of the plants took off while others remained slow-growing.  The obvious factor?  The potting soil.
 
I used 3 different kinds and had the best results - hands down - with the first bag that I purchased.  I got it from Sixteen Acres Garden Center.  I do not have the name of it right now, but I am going to go back and get another bag of it.  It was a "slow-release fertilizer" type.  Anyway, I can see from these pictures that all the seedlings that I transplanted into 12-oz cups with this fertilizer did the best.
 
 
One final experiment:  Two weeks ago, I was about to throw out a bunch of tiny tomato seedlings that just never seemed to grow.  However, I noticed that I didn't have any Red Grape Tomato plants or Lee Fanelli Heirloom plants, so I decided to do a little experiment.  Suspecting that the reason they never grew was due to the lousy potting soil, I replanted them in the Fox Farm Ocean Forest (FFOF)potting soil.  These pictures show what a difference the potting sol made over just 2 weeks.  The first picture shows the seedlings that I was about to throw out:
 
 
These next two pictures show the seedlings after just 2 weeks:


Setting Up the Vegetable Garden

This has been an extremely busy time.  For more than a week, I have been gradually exposing the seedlings to higher and lower temperatures, as well as more and more hours of sun.  It's made for a lot of running around, since many afternoons have been both rainy and sunny.  I have been watching the weather reports to make sure that the plants never sat outside below 50 degrees.  They have been getting maximum sunlight, too, so I have had to make sure the plants didn't dry out.  All and all, they have gotten used to being outdoors.

The weather report said the cold nights were over - meaning not really going below 50 degrees, so I decided to start putting the plants n the ground.  I had fertilized the soil weeks ago, so all I have to do is dig the holes, add a little fertilizer for each plant (3 T).  It's an organic fertilizer for tomatoes and vegetables.


So far, I have planted 9 Bellstar Tomatoes, 7 Yellow Pear Tomatoes, 8 cabbage, 8 eggplant, 8 bell pepper, 8 watermelon and 7 cantaloupe plants.
 
 
For the tomato plants, I cut off the lowest branches, as they seem to suck up a lot of the plants energy/food, but won't bear fruit.  At least I don't think those branches will.  I read on a gardening website that it's good to do this, as well as plant a bit of the tomato plant's stem in the ground - I think this is so it will grow more roots and strengthen the plant.


So, now some of my concerns:
  1. Only after I put the plants in the ground did I discover that the next 2-3 days are going to be cold.  One of the nights will actually dip down to 38 degrees!! I think I may try to cover the seedlings at night to protect them.  I'm not sure how yet, but I'm going to have to act fast.
  2. I did not rake/level the garden as thoroughly as I should have, so it is pretty uneven in parts.  I'm not sure how this will effect the plants, but in the fall I'm going to rototill everything! I would have/should have done it this spring, but as always, I just can't seem to get to everything.
  3. I'm worried about pesky critters eating my plants.  I still haven't figured out how I'm going to enclose this huge garden....
  4. I did not even think to leave paths between the rows of vegetables, so it's going to be a little challenging moving about the garden.  I have only planted half of the garden, so I will be sure to leave myself more room when I plant the rest.
  5. I did not put any stakes in for the tomato plants and am considering doing it this weekend so I don't disturb the roots later.

Saturday, May 18, 2013

Lemon Tree


James and I started the 2 lemon trees, seen in the background of this photo, when he was 6 years old.... He's 12 now, making these trees 6 years old.  The seeds come from an organic lemon I picked up from Whole Foods Market, and miraculously, they grew.  We have yet to see any flowers, but then again, I haven't really concerned myself with finding out how to properly care for them.  All that has changed, and I'm determined to get at least 1 lemon from them!


I learned in my WMMGA class that I was not properly pruning these lemon trees, and that a certain pyramid shape should be encouraged.  My trees didn't have the proper shape, so I had to prune back the top of one, which was top-heavy.  Also, as seen in the above picture, it could use some more branches.  I learned how to do what's called "notching" in one of my classes, so about 2 or 3 weeks ago I tried it on my trees.  I also bought some fertilizer called Citrus Tone to put around the plants.  Almost immediately, I saw new growth!


I'm still not seeing branches in the middle of the trunk, or the beginning of growth, but I will keep at it.  I have also been bringing the trees outside each day, so that hopefully they will get the air, heat, and sunshine they require.  And of course, if they ever get any blooms, they're going to need the bees!

Here are some useful links on notching:

Monday, May 6, 2013

Hardening Off

After it was suggested that my plants have "fungus mites", I was told to start bringing my seedlings out into the light and air.  So, I decided to start hardening them off.
 
 
I know the goal of hardening off is to get the young plants gradually used to hotter and colder temperatures.  The other night, I left the plants out until it reached 50F.  The tomato plants looked like they were cringing:

They did recover, and I've been putting them outside and keeping them there until the temperature hit 48F.  When I brought the seedlings in, the eggplant seedlings, cantaloupe seedlings and cucumber seedlings didn't look so hot.  They looked very pale, and like they were losing their green color.

I went on line to see if I could find out more about hardening off.  I learned that certain plants should not be kept outside in temperatures below 60F, because they are tender.  I also read that the hardening off process should begin a week or 2 before planting day.

I have decided to bring the plants in when it gets down to 60F, and take a couple of weeks to fertilize the plants a bit.  I am starting with Super Thrive.

Recommendations Taken From Washington State University
  1. Harden off gradually, so that seedlings become accustomed to strong sunlight, cool nights and less-frequent watering over a 7-10 day period.
  2. On a mild day, start with 2-3 hours of sun in a sheltered location.
  3. Protect seedlings from strong sun, wind, hard rain and cool temperatures.
  4. Use an automatically opening cold frame, if you have one.
  5. Increase exposure to sunlight a few additional hours at a time and gradually reduce frequency of watering, but do not allow seedlings to wilt. Avoid fertilizing.
  6. Keep an eye on the weather and listen to the low temperature prediction. If temperatures below the crop's minimum are forecast, bring the plants indoors or close the cold frame and cover it with a blanket or other insulation.
  7. Know the relative hardiness of various crops. Onions and brassicas are hardy and can take temperatures in the 40's. After they are well hardened off, light frosts won't hurt them. Warm-season crops such as eggplants, melons and cukes prefer warm nights, at least 60° F. They can't stand below-freezing temperatures, even after hardening off. (See chart below for more detail.)
  8. Gradually increase exposure to cold.
  9. Root-prune plants in flats a week before setting out. Use a sharp knife and cut down to the bottom of the flat between the plants. Water thoroughly.
  10. After transplanting to the garden, use a weak fertilizer solution to get transplants growing again and to help avoid transplant shock.

Recommended Minimum Temperatures
Hardy40° F.Broccoli, Brussels sprouts, kohlrabi, cabbage, onions, leeks, parsley
Half-Hardy45° F.Celery, Chinese cabbage, lettuce, endive
Tender50° F.Squash, pumpkin, sweet corn
60° F.Cucumber, muskmelon
65° F.Basil, tomatoes, peppers
 
This chart has been taken from Washington State University


Potting Soil

This is the first year that I have ever had any success with growing plants from seed, but what a learning experience it has been!

One of the challenges I always face is "damping off" , or "root rot", due to over-watering.  This year (aside from my first try at pepper plants) everything has gone really well, thanks to peat pellets. I tried 2 different kinds, peat and soil pellets and like the peat pellets better (I lost a whole flat of marigolds using the Jiffy pellets).

I noticed that the seedlings I transplanted first have done so much better than the seedlings I did in the following weeks.  I think it's because of the potting soil.  The first potting soil I used had a slow-release fertilizer incorporated in it.  Then, when I ran out, I was tempted to buy a really cheap potting soil called Jolly Gardener.  Well, this gardener isn't feeling too jolly!

The second potting soil was damp in the bag, and felt really heavy.  I think the dampness hurt the roots, because the plants have pretty much stopped growing.  I have tried a new potting soil called Fox Farm Ocean Forest (FFOF) which has been touted all over gardening forums.  Still, my seedlings seem dejected.  I think the longer the seedlings sit around in their peat pots, the more they lose energy to grow.

One of the biggest questions I have had is how and when to fertilize the plants.  Again, the first potting soil with the slow-release fertilizer seems to have worked best.

Last week, I started getting extremely concerned because I noticed some of the tomato leaves looking a bit shriveled, and I discovered some tiny bugs floating around.  Someone at the garden center told me that I probably have fungus mites, due to dampness.  Darn that Jolly Gardener! Her recommendation was to bring the plants up out of the basement to get some air and dry off.  So that's what I did.

Any way, here is a photo comparing two tomato seedlings, both sown on April 6th.  What a difference!


In all fairness, the plant on the left was sitting in a peat pellet for at least 2 weeks while I waited for it to develop true leaves.  I'm not sure why some of the plants grew so much quicker than the others.

Wednesday, April 24, 2013

Update on Blueberry Bushes


I put in my blueberry hedge in September.  Well, it didn't take long for the critters to discover them, and they immediately devoured the tender stems:


I recently surveyed the damage and could see that if these bushes are going to survive, they are going to need protection of some sort.  This picture shows nibbled branches:


I also needed to amend the soil, because the soil test reported that this soil is too alkaline.  I added some "Holly Food", which is good for blueberries, too.  It needs to be applied again in a couple of months:


So, I picked up some wire mesh and constructed some "cages" yesterday (April 22).  After I amended the soil, I buried the bottoms of the cages in the soil and covered them with some dirt and mulch, to help keep them anchored:


Today, I went out to inspect them, and I discovered that some creature was trying to dig under the cages!!! Four of them!!!!


I was glad to know that I had protected these plants.  Well, later in the day, I caught the creature in the act:


Guilty!

"Who, me?!"

Yes, you!

I had to put Shadow in the house after he did it again.

Anyway, like the fruit trees, I never got around to pruning the older blueberry bushes, and will have to make it a priority next March.  It's not the end of the world, but neglecting the bushes sure won't bring much fruit.

Incidentally - one of the biggest mistakes I made was buying such immature plants.  I should have paid more to have bigger plants, then we'd be eating blueberries so much sooner.  I'll be lucky if I get blueberries in 3 to 5 years!

Friday, April 19, 2013

PJM Rhododendrons

A few weeks ago, when I was out pruning bushes and surveying the gardens, I thought my PJM rhododendron was sick.  I looked like this on April 3rd:


So, here it is, April 19 and it looks like this:


Overall, it looks healthy and has plenty of blooms.  One of the bushes only has blooms on the back, towards the house.  I wonder if the wind/cold was too much for it.  I'm not about to put burlap over it, though, each winter.  It looks good enough.  I think I fertilized the plant too late in the season, and the new growth suffered winter injury.  This year I know not to do that - not past mid July.

Sunday, April 7, 2013

Testing Soil and the Soil Analysis Report

I got my analysis back from the Soil Testing Lab at UMass a couple of weeks ago. 

The form for the test can be found here:  http://www.umass.edu/soiltest/

Every thing looks good for the perennial bed, but the vegetable garden needs some adjustment.  The report said the soil pH is 6.1 and that I should add dolomitic (magnesium rich) limestone - which I did this weekend.  The report says to add the lime as early as possible prior to planting.  Planting is still 2 months away.


I used 45 lbs., or 15 lbs. per 100 sq. ft. My plot is roughly 300 sq. ft.  I poured the rest of the 50 lb. bag into the other bed, which is 32 sq. ft.
 
I also need to add about 15 lbs. of 5-10-10 fertilizer to the large vegetable bed, and 4.8 lbs to all the smaller beds. I can also use this for annual flowers and roses.  See the report for details.  Should be done in early spring... now.
 

4/19/13 - UPDATE
I bought a 5-10-10 that was recommended at Sixteen Acres Garden Center, but when I got it home and started to apply it, I read on the bag that it possibly causes cancer, as well as birth defects - in the state of California! Well, I guess it would cause those problems here in the state of Massachusetts, too!  So I decided not to use it and look for some organic sources of nutrients, instead.  One thing we learned again and again in WMMGA - READ THE LABEL!!  I guess I need work on this.

Anyway, the soil report said to add 1 bushel of manure per 100 square feet.  My large garden is 300 sq. ft., and the smaller gardens add up to almost 200 sq. ft.  It turns out that a bushel of manure weighs roughly 75 pounds.  So off to Home Depot I go, and bought 12 25-lb bags of the stuff.  Again - READ THE LABEL!!!  When I got home, I discovered that only have of the material in the bag was actually manure.  The other 49% was peat moss, etc.  I used it anyway.

I also added blood meal (nitrogen), bone meal (phosphorus) and wood ash (potassium).  I used the recommendations on the UMass soil report.

I spent the last 2 days finishing the large garden bed.  I still have the smaller ones to do.  I'm taking a break because my back is breaking.