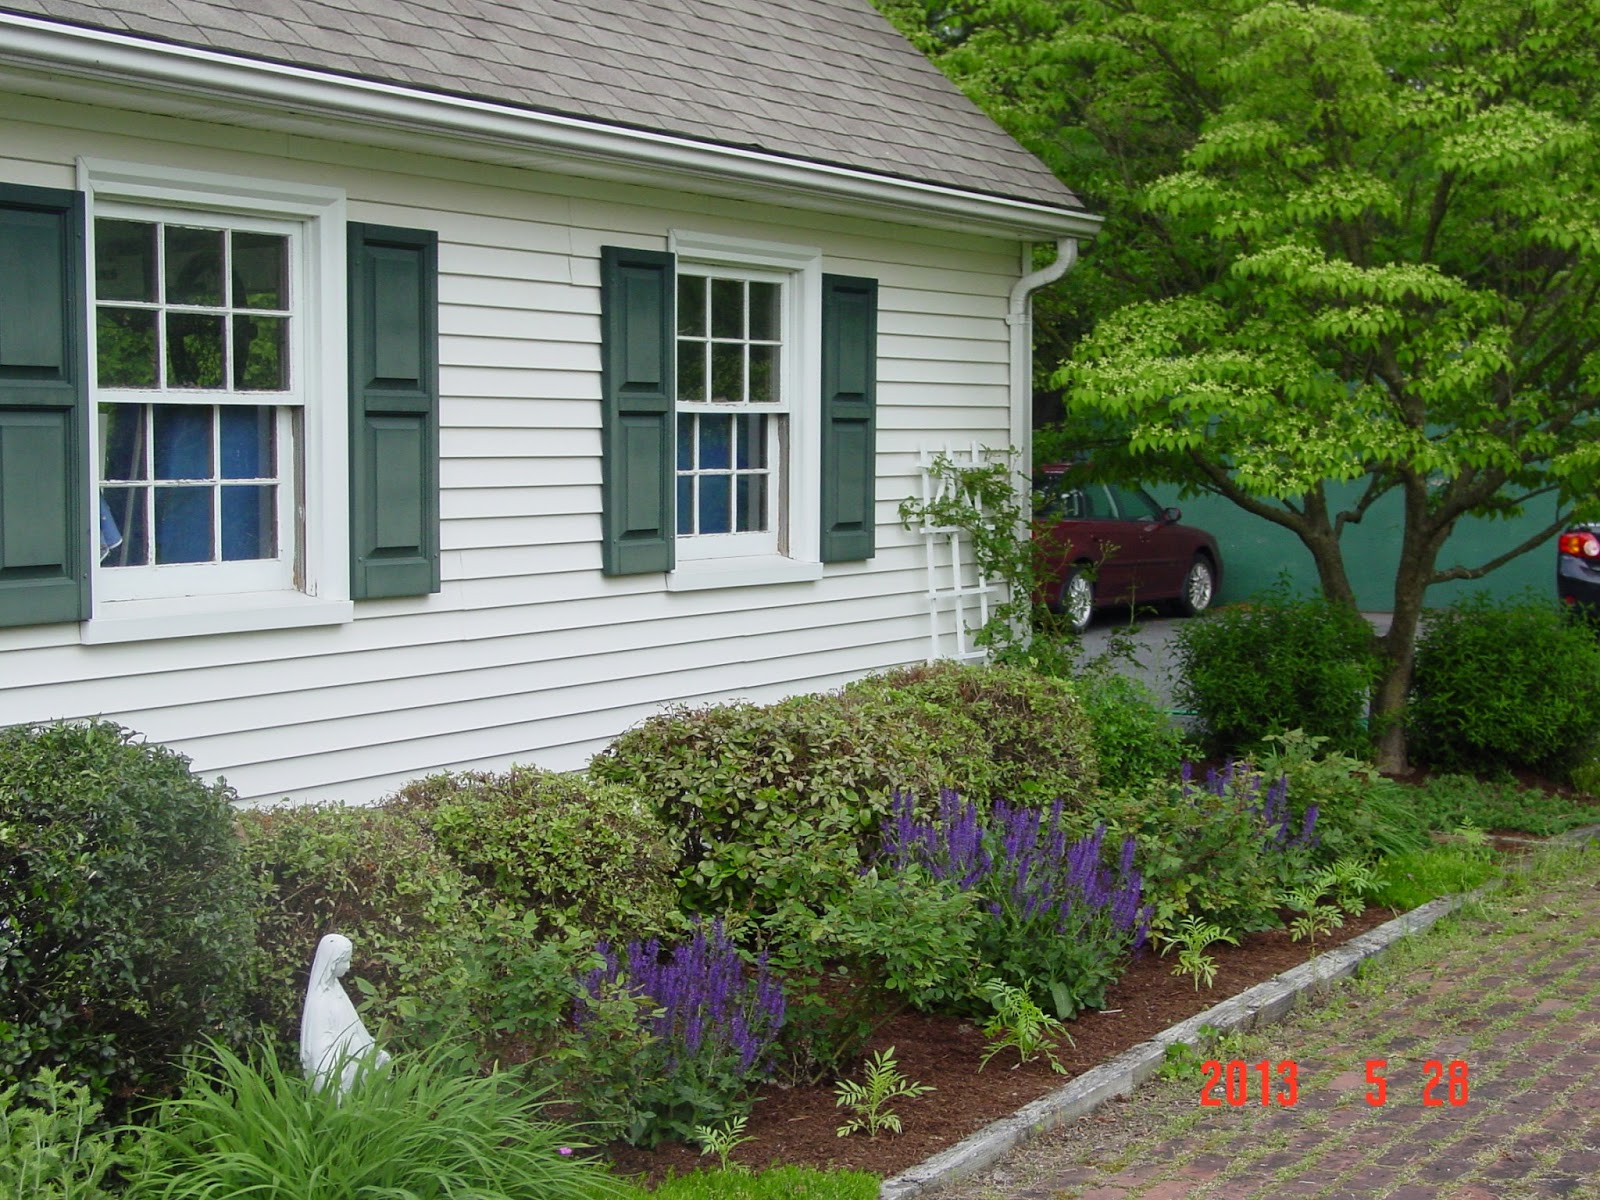
Today I set out the rest of my seedlings and mulched the front gardens. Michael painted the rose trellises and I put them out today. I had to string the rose canes to the trellis so they wouldn't fall.
I also put in my dahlia bulbs, zinnias and bachelor's button plants. I'm very excited to see what they bring!
Before I called it quits for the day, I dug up my remaining three basil plants and stuck them in a pot. We're definitely putting up that fence in the fall!
I was very excited to see tiny yellow flowers on my cucumber plants! Now, if I could just keep the pests away from everything... And Shadow is turning out to be a major pest. He keeps trampling through my garden beds, as well as lying down in the cool dirt. The fence will have to keep him out, too!
Showing posts with label Transplanting. Show all posts
Tuesday, May 28, 2013
Monday, May 27, 2013
Garden Notes - May 27, 2013
I was outside by 10:30 this morning, determined to make the best use of this gorgeous day. I didn't stop until 4:30. I only stopped because I could feel my shoulders stinging from sunburn. But, it was a productive day!
First, I brought out all my plants into the sunshine and checked everything that I had already planted.
Next, I went to work in the front. Jamie is anxious to get the mulch down, but I wanted to prune all the azalea bushes, hollies, and Japanese barberry bushes first. I pruned them as far back as I could. Every year we mulch first, but then after I prune the bushes, I feel like I'm scooping up all the mulch when I pick up the branches.
I also did a lot of weeding up front. I still need to fertilize all the bushes up front, but I can do this after the mulch is laid. The front is now ready for mulch.
I planted all of my French marigolds, too - some at the edge of the perennial garden, some along the edge of my bean garden, and the rest along the edge of my vegetable garden.
So, moving right along! Tomorrow, I plan on putting in the rest of my seedlings, all of my seeds, and my dahlias. I plan on setting up some fences and the rose trellises, doing some fertilizing and setting out some mulch. Another busy day!
A couple of concerns. The deer and rabbits. And the fact that a few of the plants are struggling (see plant on left. Yikes!).
First, I brought out all my plants into the sunshine and checked everything that I had already planted.
Next, I went to work in the front. Jamie is anxious to get the mulch down, but I wanted to prune all the azalea bushes, hollies, and Japanese barberry bushes first. I pruned them as far back as I could. Every year we mulch first, but then after I prune the bushes, I feel like I'm scooping up all the mulch when I pick up the branches.
I also did a lot of weeding up front. I still need to fertilize all the bushes up front, but I can do this after the mulch is laid. The front is now ready for mulch.
The front took most of the day, but after I fertilize and mulch, I won't have to think about it again until next year. And it looks so pretty! Michael finished painting the rose trellises, so I'll put those in place tomorrow or Wednesday. And I planted the Snowball marigolds that I grew by the Midnight salvia and roses. It should look lovely when they bloom (although I think the salvia will be spent).
Then I worked a little bit on the perennial garden. I planted the Baptisia plant I bought at the plant sale, as well as the two Rose Campion plants. I weeded a little bit and cut some dead canes off the climbing rose, and had to prune back a butterfly bush the a deer pushed over. Grrrr.
I planted all of my French marigolds, too - some at the edge of the perennial garden, some along the edge of my bean garden, and the rest along the edge of my vegetable garden.
Actually, before I planted the marigolds, I started to rake and shovel the vegetable garden. It was impossible! It was all hard and lumpy, and now I feel really bad that I put my seedlings into such unprepared soil!
When I realized that it would take me all day to prepare the soil, and that I already had an aching back, I worked up the courage to pull the rototiller out. I was worried that I wouldn't be able to start it up, since I'm not really good with machinery. Well, it started up (after a prayer!). In no time, the vegetable garden, James' pumpkin patch and my bean garden were in perfect condition for planting!
So, moving right along! Tomorrow, I plan on putting in the rest of my seedlings, all of my seeds, and my dahlias. I plan on setting up some fences and the rose trellises, doing some fertilizing and setting out some mulch. Another busy day!
A couple of concerns. The deer and rabbits. And the fact that a few of the plants are struggling (see plant on left. Yikes!).
Labels:
Azaleas,
Baptisia,
Bridal Veil Spirea,
Clean-up,
Iris,
Japanese Barberry,
Journal,
Marigolds,
Mulch,
Perennial Garden,
Pruning,
Rose Campion,
Rototiller,
Soil,
Transplanting,
Vegetable Garden
Friday, May 24, 2013
Potting Soils - The Results Are In
Well, I made an important discovery: the type of potting soil you use is extremely important.
The plants in all of these pictures were started by seed at the same time, yet some of the plants took off while others remained slow-growing. The obvious factor? The potting soil.
I used 3 different kinds and had the best results - hands down - with the first bag that I purchased. I got it from Sixteen Acres Garden Center. I do not have the name of it right now, but I am going to go back and get another bag of it. It was a "slow-release fertilizer" type. Anyway, I can see from these pictures that all the seedlings that I transplanted into 12-oz cups with this fertilizer did the best.
One final experiment: Two weeks ago, I was about to throw out a bunch of tiny tomato seedlings that just never seemed to grow. However, I noticed that I didn't have any Red Grape Tomato plants or Lee Fanelli Heirloom plants, so I decided to do a little experiment. Suspecting that the reason they never grew was due to the lousy potting soil, I replanted them in the Fox Farm Ocean Forest (FFOF)potting soil. These pictures show what a difference the potting sol made over just 2 weeks. The first picture shows the seedlings that I was about to throw out:
These next two pictures show the seedlings after just 2 weeks:
Setting Up the Vegetable Garden
This has been an extremely busy time. For more than a week, I have been gradually exposing the seedlings to higher and lower temperatures, as well as more and more hours of sun. It's made for a lot of running around, since many afternoons have been both rainy and sunny. I have been watching the weather reports to make sure that the plants never sat outside below 50 degrees. They have been getting maximum sunlight, too, so I have had to make sure the plants didn't dry out. All and all, they have gotten used to being outdoors.
The weather report said the cold nights were over - meaning not really going below 50 degrees, so I decided to start putting the plants n the ground. I had fertilized the soil weeks ago, so all I have to do is dig the holes, add a little fertilizer for each plant (3 T). It's an organic fertilizer for tomatoes and vegetables.
So, now some of my concerns:
The weather report said the cold nights were over - meaning not really going below 50 degrees, so I decided to start putting the plants n the ground. I had fertilized the soil weeks ago, so all I have to do is dig the holes, add a little fertilizer for each plant (3 T). It's an organic fertilizer for tomatoes and vegetables.
So far, I have planted 9 Bellstar Tomatoes, 7 Yellow Pear Tomatoes, 8 cabbage, 8 eggplant, 8 bell pepper, 8 watermelon and 7 cantaloupe plants.
For the tomato plants, I cut off the lowest branches, as they seem to suck up a lot of the plants energy/food, but won't bear fruit. At least I don't think those branches will. I read on a gardening website that it's good to do this, as well as plant a bit of the tomato plant's stem in the ground - I think this is so it will grow more roots and strengthen the plant.
So, now some of my concerns:
- Only after I put the plants in the ground did I discover that the next 2-3 days are going to be cold. One of the nights will actually dip down to 38 degrees!! I think I may try to cover the seedlings at night to protect them. I'm not sure how yet, but I'm going to have to act fast.
- I did not rake/level the garden as thoroughly as I should have, so it is pretty uneven in parts. I'm not sure how this will effect the plants, but in the fall I'm going to rototill everything! I would have/should have done it this spring, but as always, I just can't seem to get to everything.
- I'm worried about pesky critters eating my plants. I still haven't figured out how I'm going to enclose this huge garden....
- I did not even think to leave paths between the rows of vegetables, so it's going to be a little challenging moving about the garden. I have only planted half of the garden, so I will be sure to leave myself more room when I plant the rest.
- I did not put any stakes in for the tomato plants and am considering doing it this weekend so I don't disturb the roots later.
Monday, May 6, 2013
Potting Soil
This is the first year that I have ever had any success with growing plants from seed, but what a learning experience it has been!
One of the challenges I always face is "damping off" , or "root rot", due to over-watering. This year (aside from my first try at pepper plants) everything has gone really well, thanks to peat pellets. I tried 2 different kinds, peat and soil pellets and like the peat pellets better (I lost a whole flat of marigolds using the Jiffy pellets).
I noticed that the seedlings I transplanted first have done so much better than the seedlings I did in the following weeks. I think it's because of the potting soil. The first potting soil I used had a slow-release fertilizer incorporated in it. Then, when I ran out, I was tempted to buy a really cheap potting soil called Jolly Gardener. Well, this gardener isn't feeling too jolly!
The second potting soil was damp in the bag, and felt really heavy. I think the dampness hurt the roots, because the plants have pretty much stopped growing. I have tried a new potting soil called Fox Farm Ocean Forest (FFOF) which has been touted all over gardening forums. Still, my seedlings seem dejected. I think the longer the seedlings sit around in their peat pots, the more they lose energy to grow.
One of the biggest questions I have had is how and when to fertilize the plants. Again, the first potting soil with the slow-release fertilizer seems to have worked best.
Last week, I started getting extremely concerned because I noticed some of the tomato leaves looking a bit shriveled, and I discovered some tiny bugs floating around. Someone at the garden center told me that I probably have fungus mites, due to dampness. Darn that Jolly Gardener! Her recommendation was to bring the plants up out of the basement to get some air and dry off. So that's what I did.
Any way, here is a photo comparing two tomato seedlings, both sown on April 6th. What a difference!
In all fairness, the plant on the left was sitting in a peat pellet for at least 2 weeks while I waited for it to develop true leaves. I'm not sure why some of the plants grew so much quicker than the others.
One of the challenges I always face is "damping off" , or "root rot", due to over-watering. This year (aside from my first try at pepper plants) everything has gone really well, thanks to peat pellets. I tried 2 different kinds, peat and soil pellets and like the peat pellets better (I lost a whole flat of marigolds using the Jiffy pellets).
I noticed that the seedlings I transplanted first have done so much better than the seedlings I did in the following weeks. I think it's because of the potting soil. The first potting soil I used had a slow-release fertilizer incorporated in it. Then, when I ran out, I was tempted to buy a really cheap potting soil called Jolly Gardener. Well, this gardener isn't feeling too jolly!
The second potting soil was damp in the bag, and felt really heavy. I think the dampness hurt the roots, because the plants have pretty much stopped growing. I have tried a new potting soil called Fox Farm Ocean Forest (FFOF) which has been touted all over gardening forums. Still, my seedlings seem dejected. I think the longer the seedlings sit around in their peat pots, the more they lose energy to grow.
One of the biggest questions I have had is how and when to fertilize the plants. Again, the first potting soil with the slow-release fertilizer seems to have worked best.
Last week, I started getting extremely concerned because I noticed some of the tomato leaves looking a bit shriveled, and I discovered some tiny bugs floating around. Someone at the garden center told me that I probably have fungus mites, due to dampness. Darn that Jolly Gardener! Her recommendation was to bring the plants up out of the basement to get some air and dry off. So that's what I did.
Any way, here is a photo comparing two tomato seedlings, both sown on April 6th. What a difference!
In all fairness, the plant on the left was sitting in a peat pellet for at least 2 weeks while I waited for it to develop true leaves. I'm not sure why some of the plants grew so much quicker than the others.
Wednesday, April 24, 2013
New Method of Transplanting Seedlings
I had many new seedlings to transplant this week, but I wasn't quite sure how to deal with the peat pellets. Should I try to take the seedlings out of the pellet, or leave them in an put the whole thing in a larger container? I decided to go online and see what other gardeners are doing, and I discovered a really good video that demonstrates how to transplant seedlings that have been grown in peat pellets:
Also, several of the tomato seedlings that I had transplanted were leaning over:
One thing that this video taught me is to plant seedlings low in the cup, so as they grow and get taller, you can add more dirt. The other important thing I learned is that it is important to keep the seedling as straight as possible - so it will grow upright and be strong. So, I re-transplanted some tomato plants, and then I did a bunch of tomato seedlings, pepper seedlings, and eggplant seedlings.
I feel bad that I am resorting to plastic cups and not recycling old newspapers, but this saves me a lot of time and I like this system better. Plus, the cups only cost 4cents apiece.
Friday, April 19, 2013
Everything's Growing!
I have been so busy these days, but I spend as much time in my garden as I can. My two biggest regrets are that I have not had the time to prune my fruit trees, or blueberry bushes, and I still haven't done anything about protecting them. I have been spending what little free time I have starting seeds, pruning, cleaning up the yard and amending the soil. Here are some pictures of what's going on around here:
My thyme seedlings have developed their first set of true leaves, so I thinned them out by using tiny scissors to cut out any extras, and then I transplanted them into newspaper pots that I made:
How tiny these plants are! I can't wait to smell these leaves this summer! Hey! I just noticed that the "cup" has "for His Kingdom" printed on it, upside down! The other has the words "Christian" and "philosophy" on it. It's thyme for His Kingdom!
I planted 2 kinds of cucumbers, 2 kinds of marigolds, some zinnias and bachelor's buttons on the 17th - the cucumbers began to sprout after 1 day; everything else is sprouting today (19th):
Outdoors, things are popping up all over the place! All the daffodil bulbs that Jamie planted are coming up:
Sadly, Jamie and I are going to have this tree taken down in November. The kids grew up swinging from its branches.
Also, I see signs of peonies, bleeding hearts, chives, foxglove, forsythia and apple blossoms, plus tiny blue flowers that I don't know the name of:
And of course, the weeds are here:
My thyme seedlings have developed their first set of true leaves, so I thinned them out by using tiny scissors to cut out any extras, and then I transplanted them into newspaper pots that I made:
How tiny these plants are! I can't wait to smell these leaves this summer! Hey! I just noticed that the "cup" has "for His Kingdom" printed on it, upside down! The other has the words "Christian" and "philosophy" on it. It's thyme for His Kingdom!
I planted 2 kinds of cucumbers, 2 kinds of marigolds, some zinnias and bachelor's buttons on the 17th - the cucumbers began to sprout after 1 day; everything else is sprouting today (19th):
I hung up a new light in my basement, since I was running out of room with my other 2 lights. I calculated that I have about 250 little plants growing down there! So, I needed another light. I learned in my WMMGA class that you don't have to buy special, expensive lights. I bought a shop light for $20 and 2 T5 fluorescent bulbs. I couldn't insert the bulbs at first, and ended up going back to Home Depot where a saleswoman showed me how. I then bought 4-foot chains to hang the lamp from the ceiling, so I can adjust it as the plants grow. The chains that the light came with were only a few inches long:
Outdoors, things are popping up all over the place! All the daffodil bulbs that Jamie planted are coming up:
Sadly, Jamie and I are going to have this tree taken down in November. The kids grew up swinging from its branches.
Also, I see signs of peonies, bleeding hearts, chives, foxglove, forsythia and apple blossoms, plus tiny blue flowers that I don't know the name of:
And of course, the weeds are here:
Well, I guess these are "winter annuals"! James asked, "Mom, what are all these tiny white flowers?" I said, "Weeds". "What are weeds?" "Plants that are growing where you don't want them to grow." James felt sorry for the weeds.
A few weeks ago, the end of March, I planted lettuce, spinach and green onions in with the garlic:
The garlic is taking off:
And of course, there's Shadow. He thinks it's his garden. The neighbor's dog, Abby, thinks it's her garden, too. I had to chase her out the other day, because she was rolling around in the manure I put down. Sheesh! I have a hard enough time with the deer and the rabbits, never mind a dachshund!
Speaking of pests, notice how there are no fences in any of these pictures. I had a "fence guy" come out this week to look at the yard. Still don't know how we're going to fence it all in.
Monday, April 8, 2013
Sowing Tomato Seeds Indoors
I sowed 4 different kind of tomato seeds on Saturday, April 6th - plum, yellow pear, grape, and heirloom. I decided to use the plugs and the "mini green houses". They are on the heating mats in the basement. The seed packets did not say how long it would take for them to sprout.
4/17/13
Just about all of the seeds have sprouted and some of the "Bellstar" even have their first true leaves.
4/19/13
Today, I transplanted about 8 tomato plants that have grown their first true leaves. I used the procedure I found in Nancy Bubel's The New Seed Starter Handbook (pp. 43) See Chapter 8 - "Transplanting into New Containers".
Actually, I kind of combined some of the procedures. I had already transplanted a pepper seedling and 4 marigold plants last week, and all seem to be doing well - even the pepper plant (which is the lone survivor from an entire flat). Here are the marigolds:
So I decided to do more: I rolled up 2 layers of newspaper around a salt shaker (any jar will do), taped the side and the bottom, put some moss on the bottom (optional) and then filled will slow-release fertilizer potting soil. I moistened the soil before I filled the "cups". Then, I carefully removed the seedling form the peat plug. Today, I actually put the peat pot right in the soil, because I noticed that the roots had grown right through the sides and bottom, and because I felt that I was harming the little plants.
Here are some of the tomato plants:
These should be able to stay right in these containers until they go in the garden.
4/17/13
Just about all of the seeds have sprouted and some of the "Bellstar" even have their first true leaves.
4/19/13
Today, I transplanted about 8 tomato plants that have grown their first true leaves. I used the procedure I found in Nancy Bubel's The New Seed Starter Handbook (pp. 43) See Chapter 8 - "Transplanting into New Containers".
Actually, I kind of combined some of the procedures. I had already transplanted a pepper seedling and 4 marigold plants last week, and all seem to be doing well - even the pepper plant (which is the lone survivor from an entire flat). Here are the marigolds:
So I decided to do more: I rolled up 2 layers of newspaper around a salt shaker (any jar will do), taped the side and the bottom, put some moss on the bottom (optional) and then filled will slow-release fertilizer potting soil. I moistened the soil before I filled the "cups". Then, I carefully removed the seedling form the peat plug. Today, I actually put the peat pot right in the soil, because I noticed that the roots had grown right through the sides and bottom, and because I felt that I was harming the little plants.
Here are some of the tomato plants:
These should be able to stay right in these containers until they go in the garden.
Sunday, April 7, 2013
One Pepper Seedling
April 6
The saga continues. I have one little pepper plant that just seems to want to survive. I planted it tonight, in an old sour cream container with holes drilled in the bottom. I followed the planting instructions from The New Seed Starters Handbook (Bubel). She says to line the bottom of the container with 2 sheets of newspaper, to keep the soil from draining out of the container. Then she says to line the bottom with an inch of moss - and wet it. Then, moisten some potting soil and fill the container to within 1/2 an inch from the top. Then put the seedling in.
I chose a potting soil that has a slow-release fertilizer (Fafard). Now the pepper plant is sitting under the grow light in the basement. I really hope it makes it....
The saga continues. I have one little pepper plant that just seems to want to survive. I planted it tonight, in an old sour cream container with holes drilled in the bottom. I followed the planting instructions from The New Seed Starters Handbook (Bubel). She says to line the bottom of the container with 2 sheets of newspaper, to keep the soil from draining out of the container. Then she says to line the bottom with an inch of moss - and wet it. Then, moisten some potting soil and fill the container to within 1/2 an inch from the top. Then put the seedling in.
I chose a potting soil that has a slow-release fertilizer (Fafard). Now the pepper plant is sitting under the grow light in the basement. I really hope it makes it....
Not a great picture. I've been wondering if maybe I should have started the pepper seeds in wet paper towels. Something to try next time. I have new seeds growing. Today is Day 7 and I see about 3 tiny sprouts. I have put them under light, but I am keeping them on heat because most of them have not sprounted. I did add some water, because the peat pots seemed so dry. I put on my 10X magnifiers and discovered a little fuzz (fungus - already!!) on one of the seedlings. I pushed it off with my finger. The others look OK.
If these don't grow then I'll try the paper towel trick. I'll keep trying! I'm also going to buy plants from the nursery if I have to.
4/19/13 - UPDATE
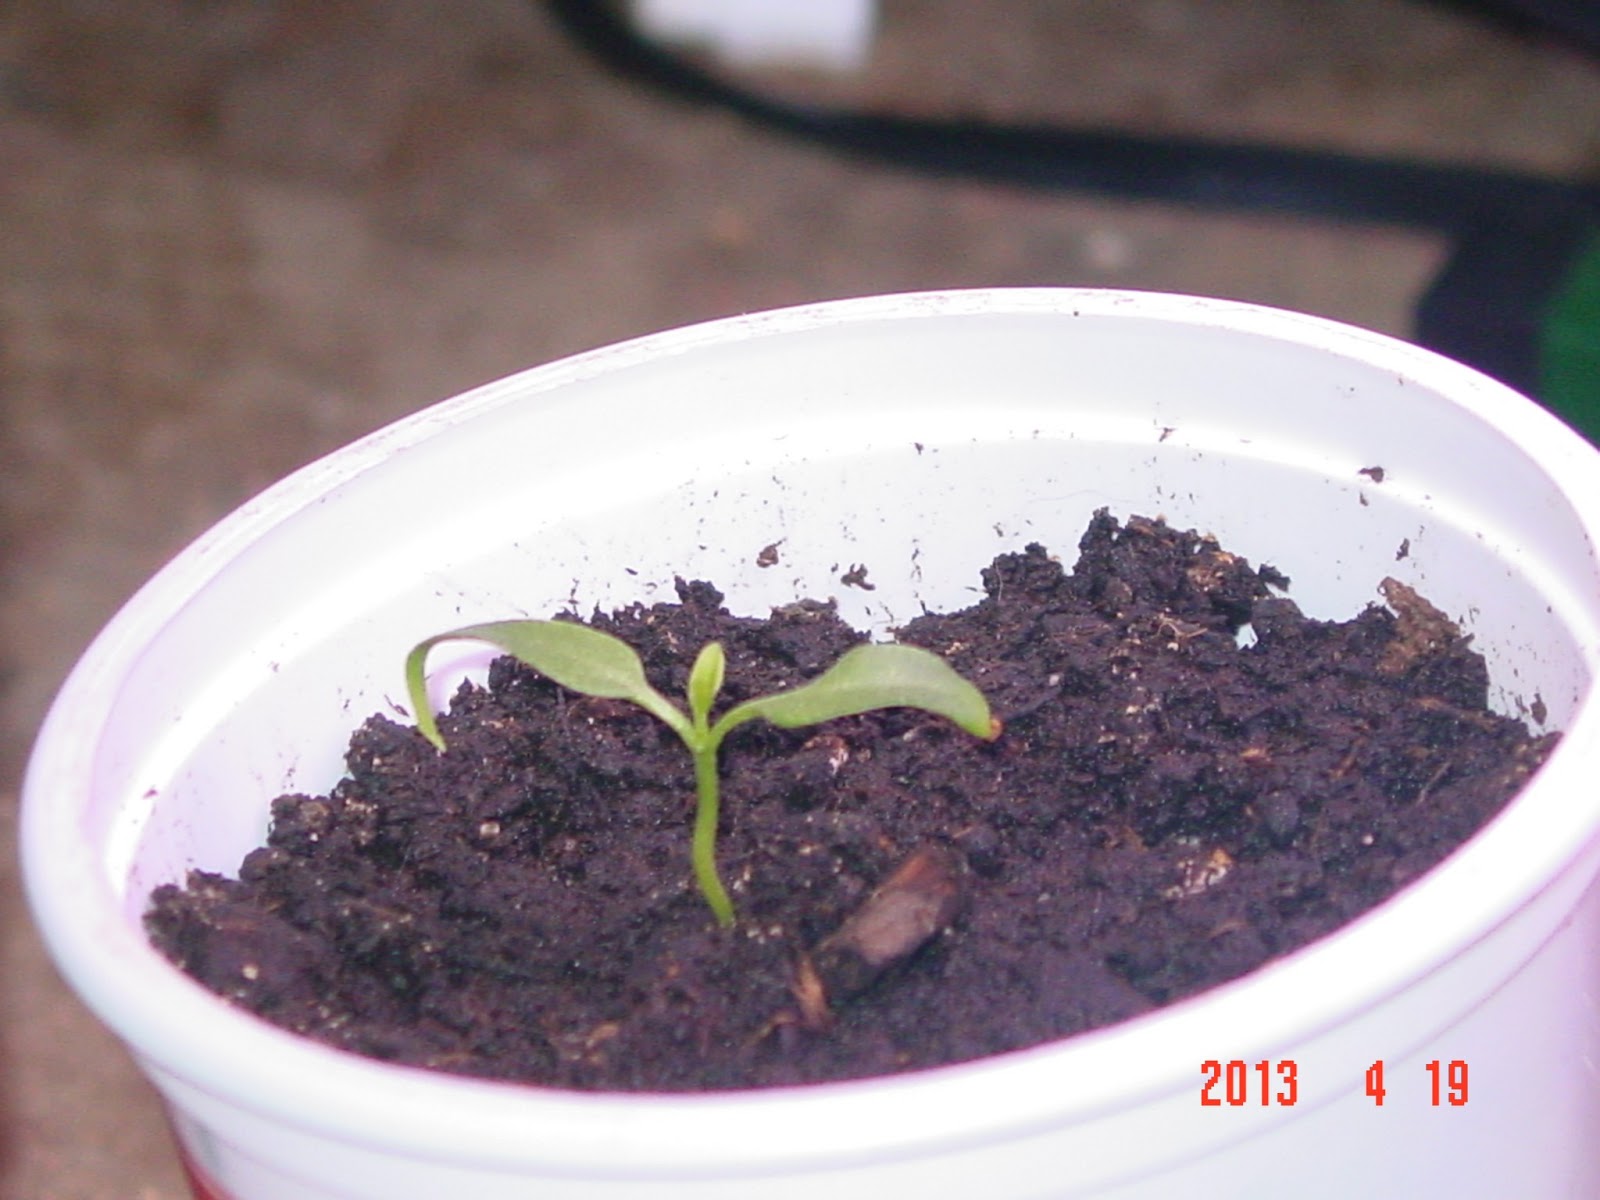
My little pepper plant is doing well! It has it's first true leaves! And all the new pepper plants planted in the plugs are also doing well and about to grow their first true leaves, too. Hurray!
Update: June 2, 2013 - One and a half months later. This pepper plant made it!!
It is planted in a container, sitting safely in the pool area where animals can't get to it. I did find some aphids on it the other day... just a few. I picked them off and I have been keeping a close eye on it. I have to go to Florida for a week and am really nervous about not being able to watch my plants.
Labels:
Books,
Instructions,
Journal,
Peppers,
Seedlings,
Seeds,
Transplanting
Subscribe to:
Posts (Atom)