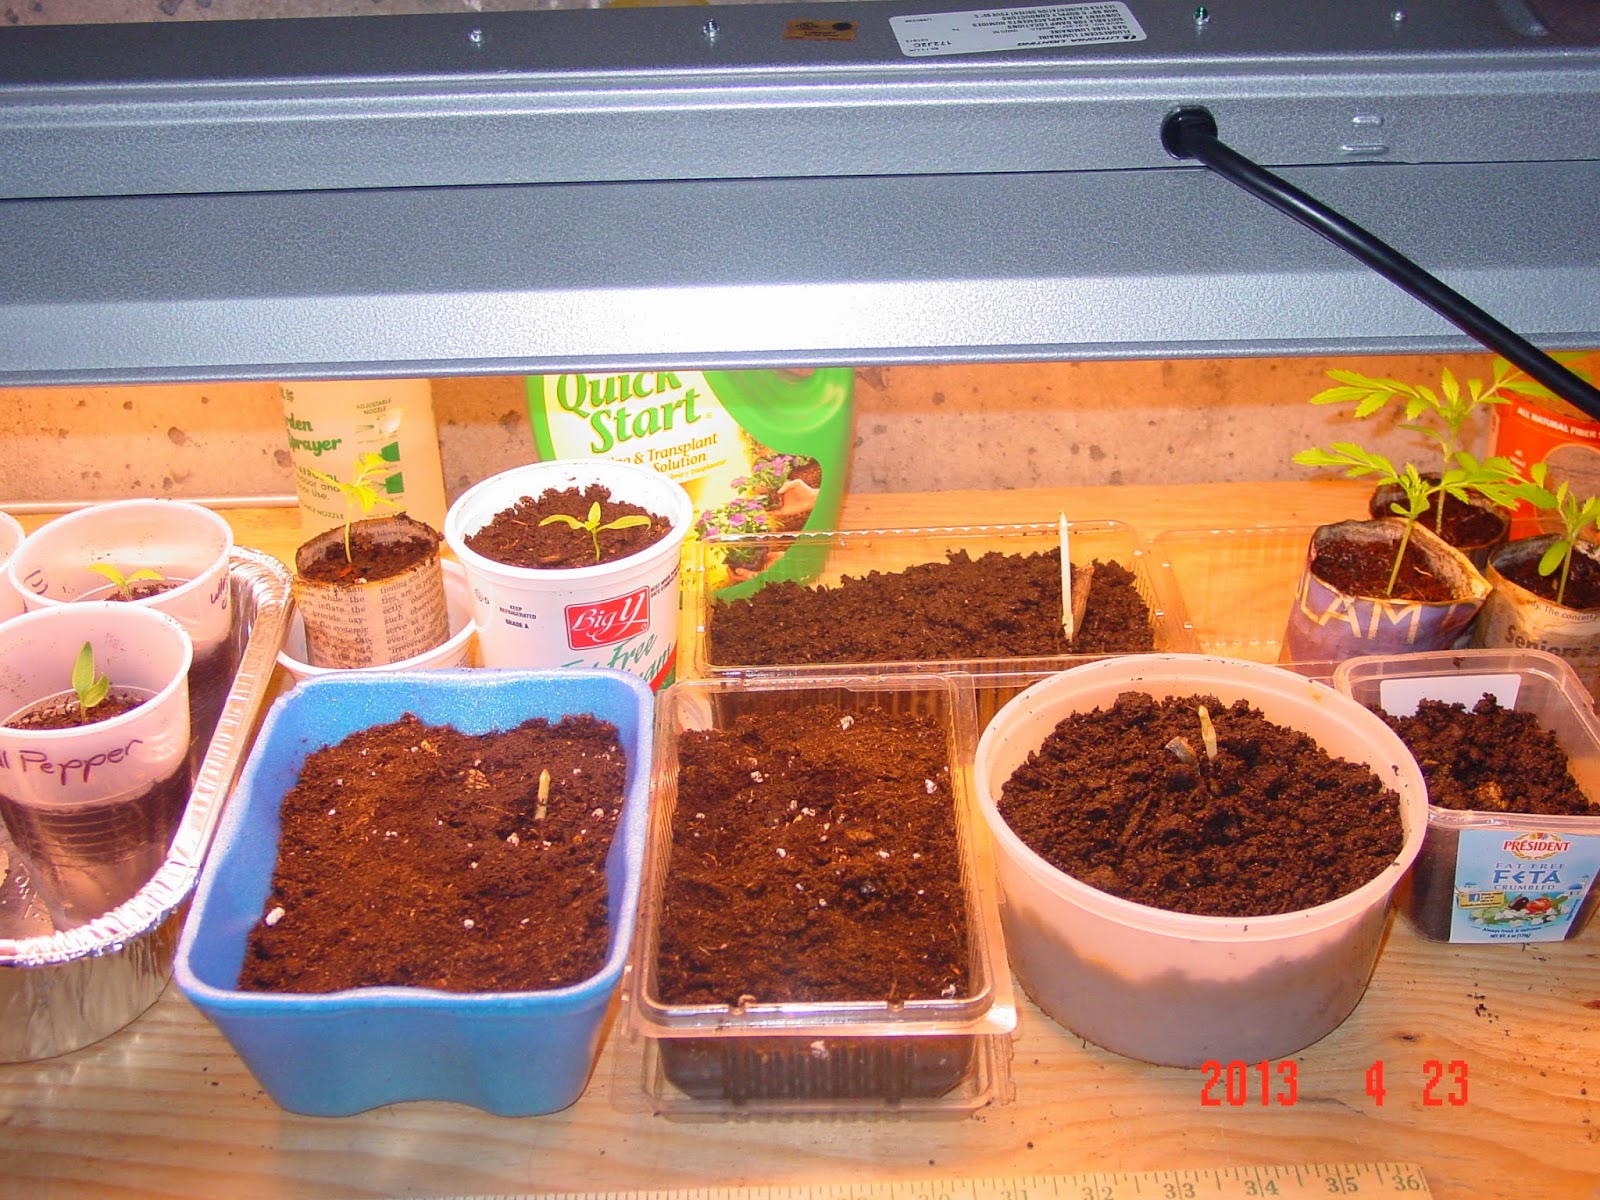
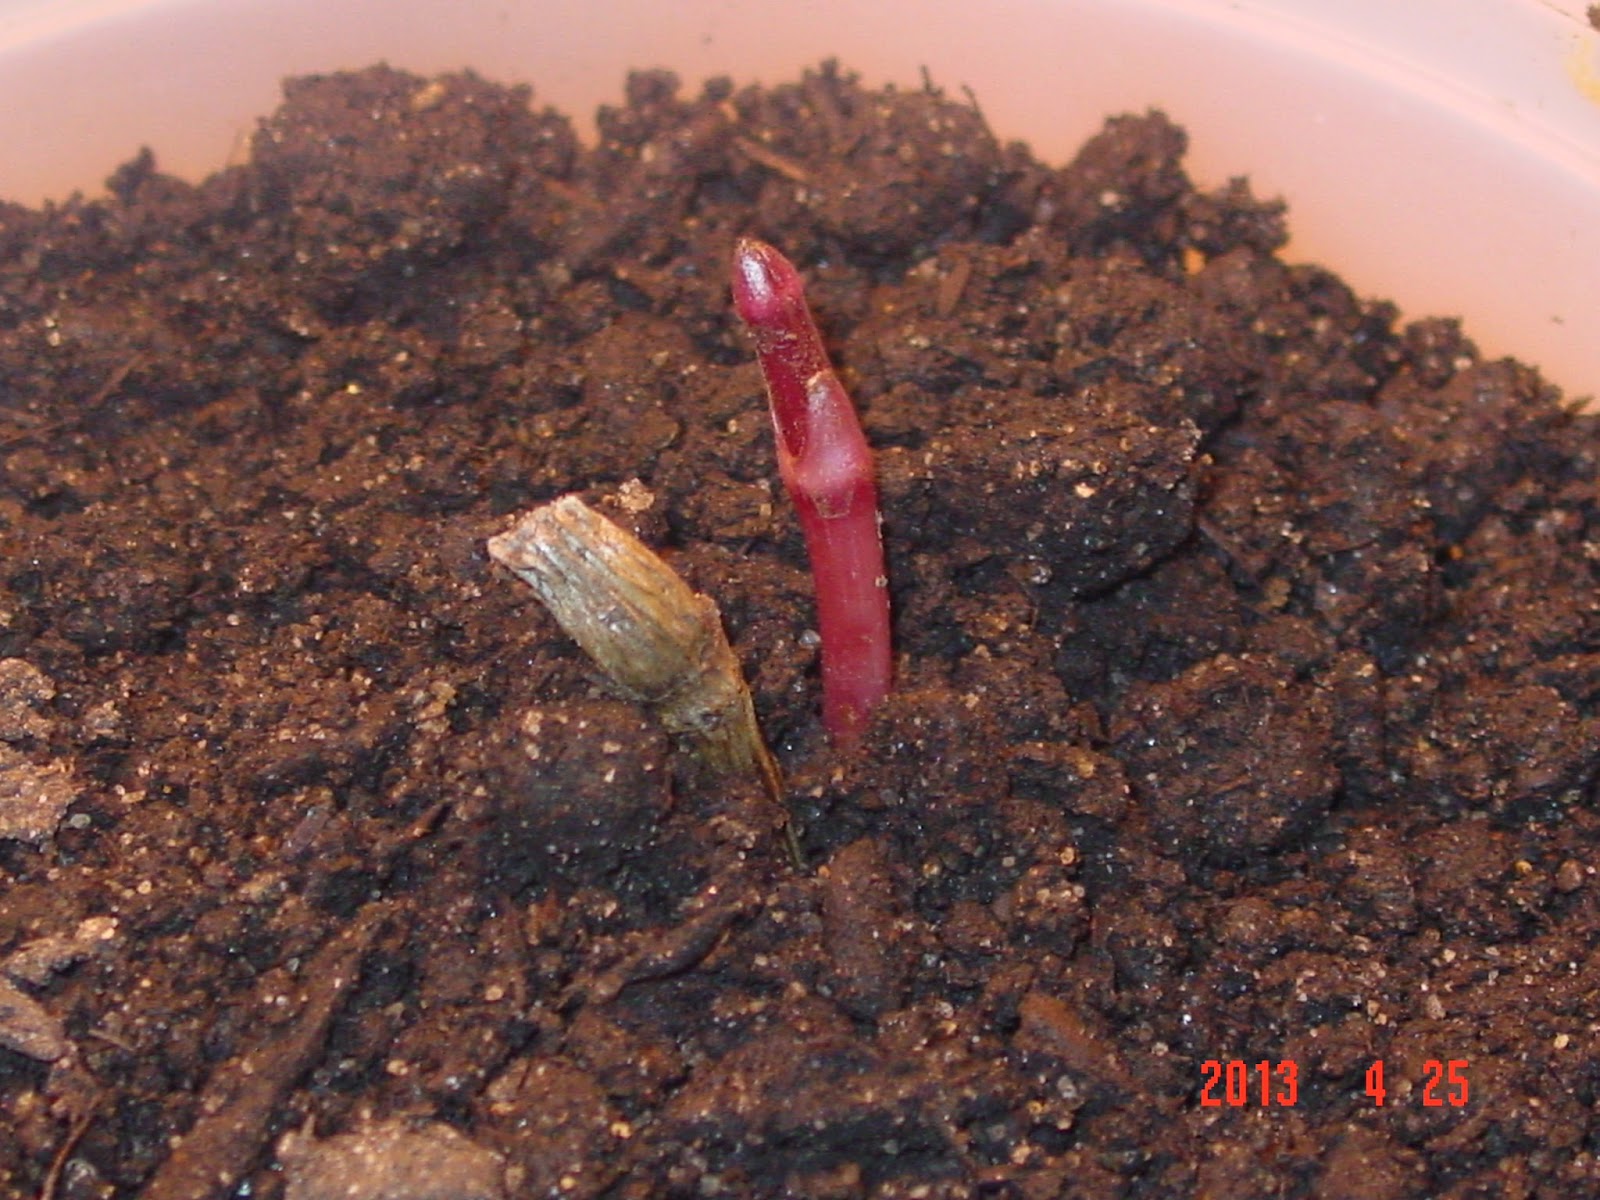
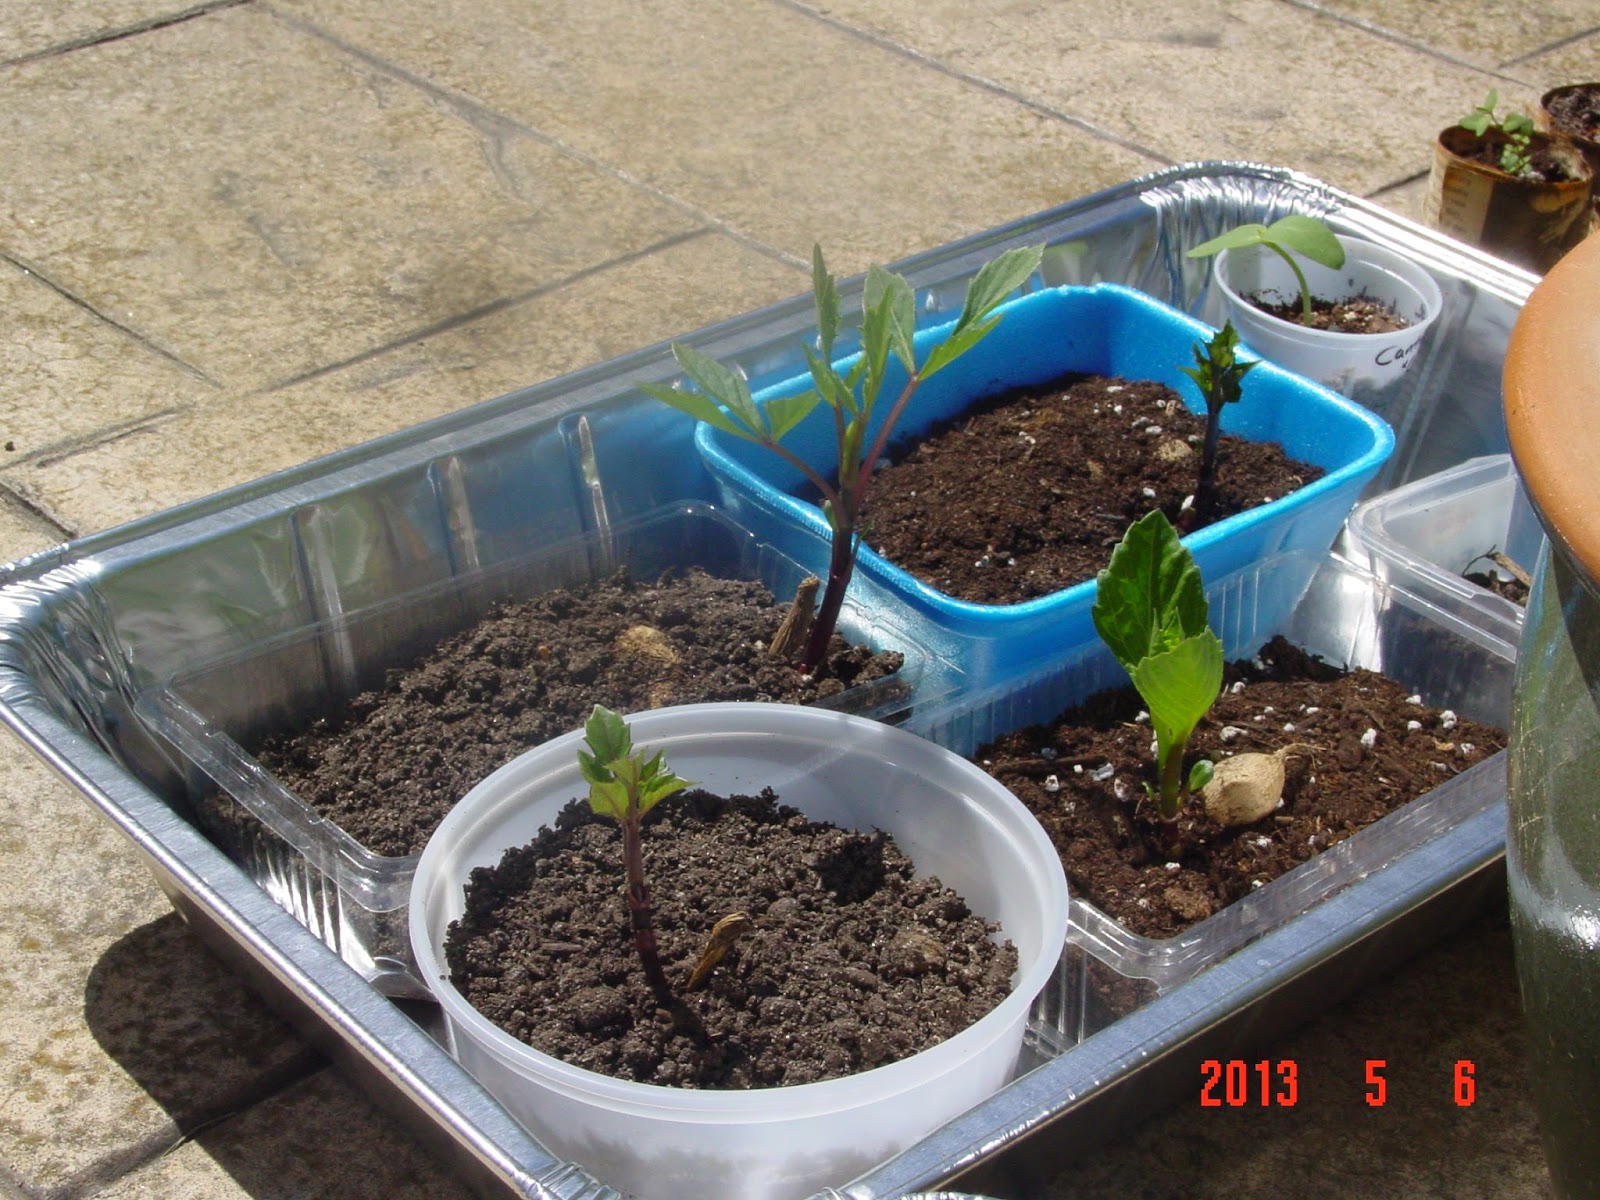
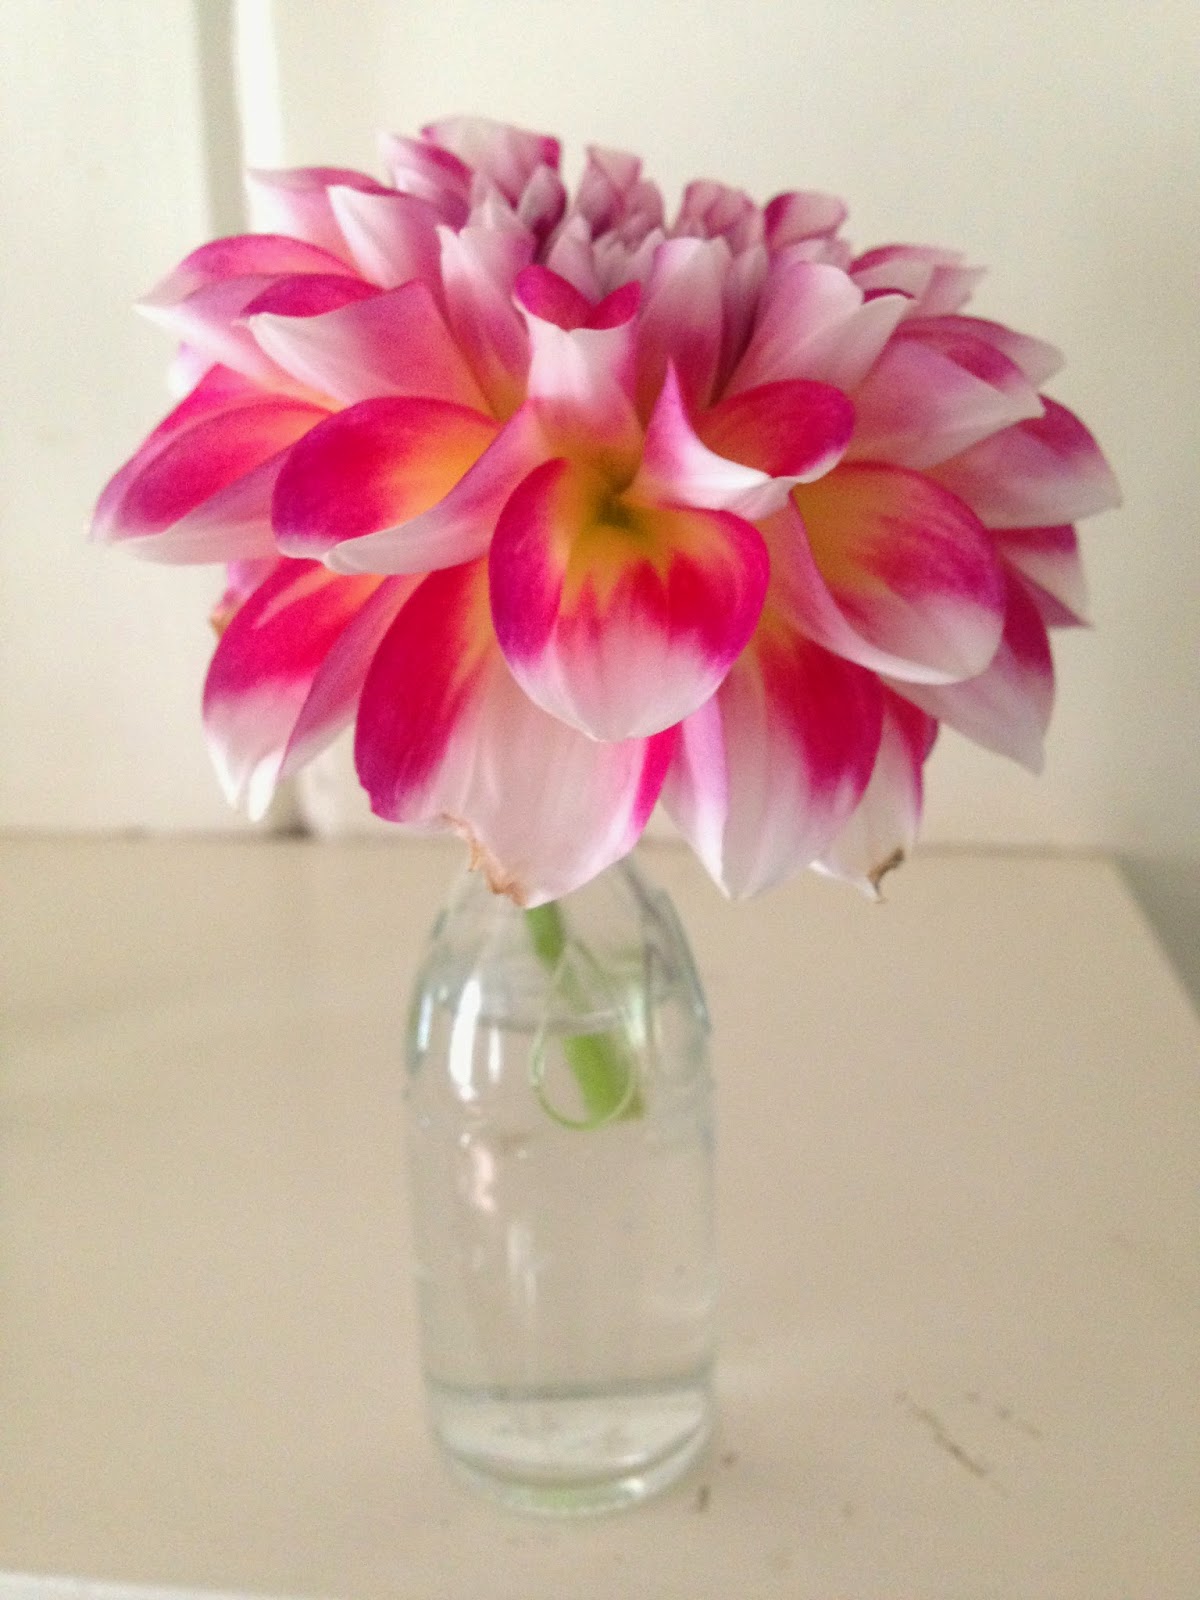
Today was the 18th Annual Spring Gardening Symposium. It is organized by the Western Mass Master Gardener Association and was held at Holyoke High School this year.
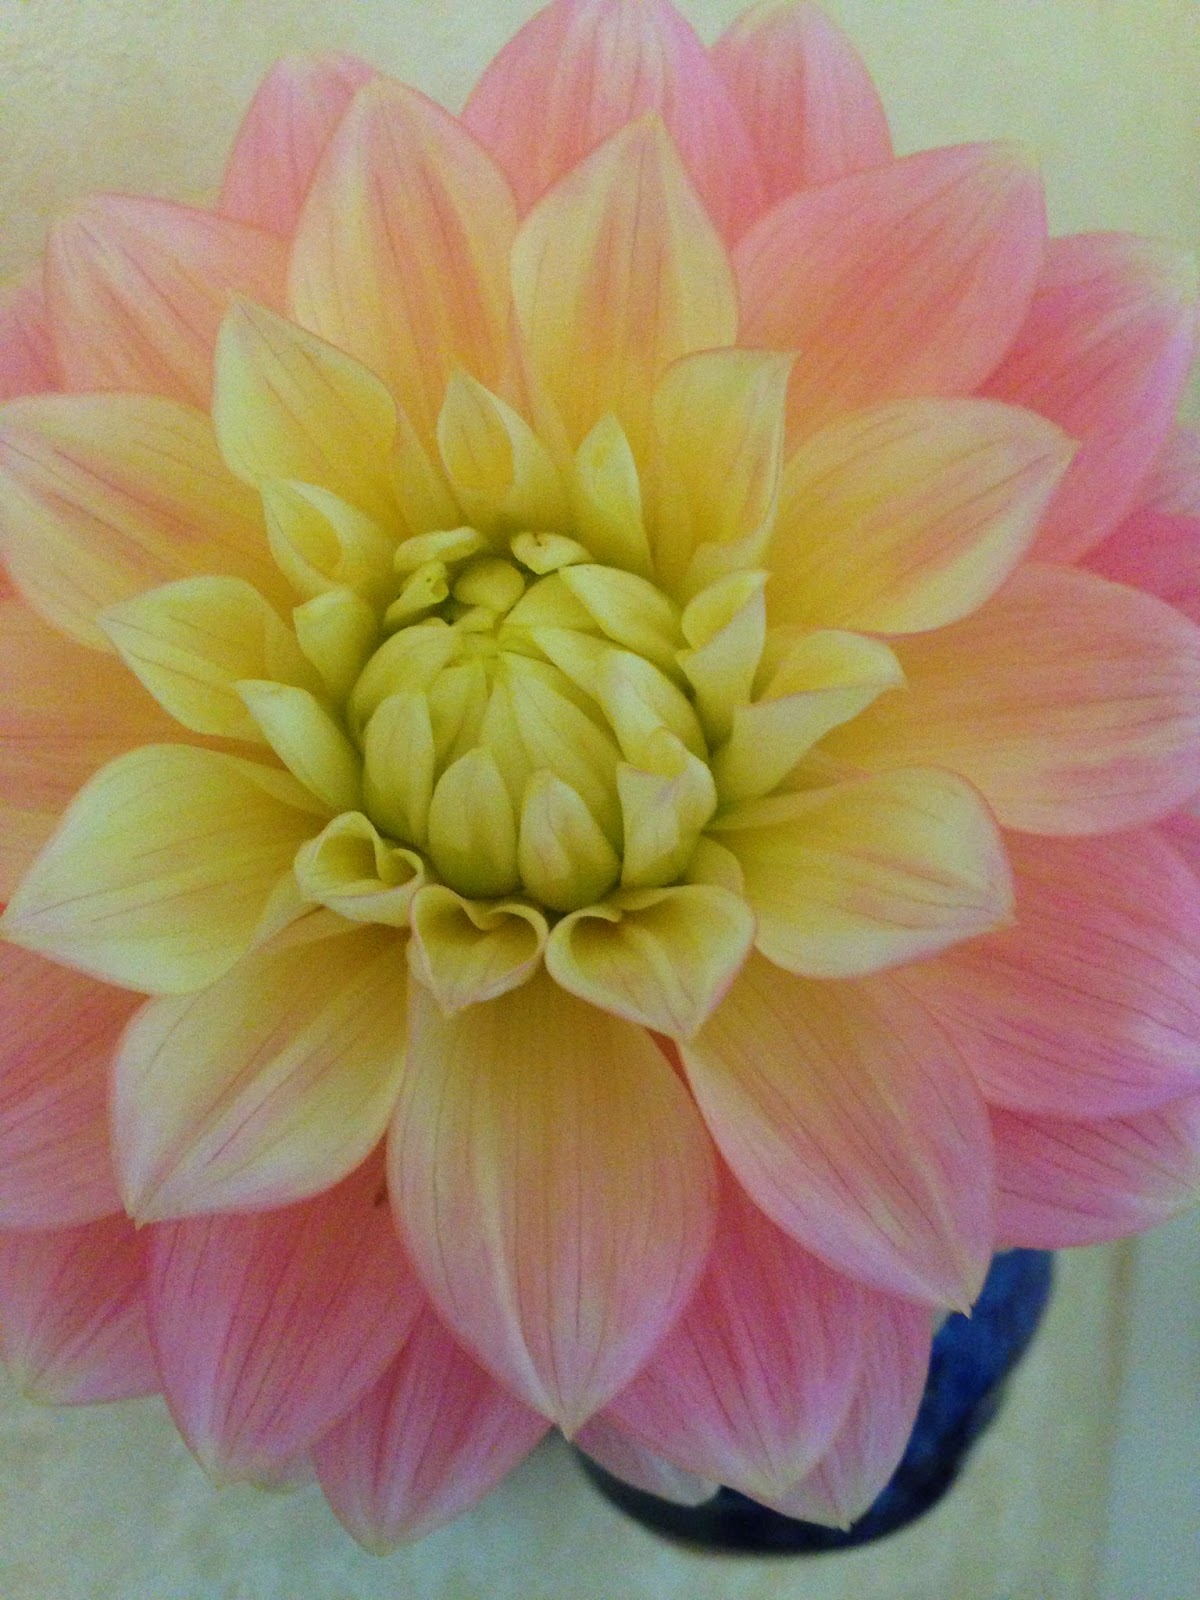
I gave a short presentation on how to grow dahlias - how to start them indoors for a longer growing season, and then how to overwinter them in order to enjoy the following year.
As promised, I am posting these instructions online. They can be found here. I apologize that my hand-drawn picture of the dahlia tuber is not included (I'm not that tech-savvy). Also, as promised, all the pictures that were shown at the symposium are posted below.
Hey! It's the perfect time to get your dahlias started!!
Showing posts with label Instructions. Show all posts
Saturday, March 29, 2014
Sunday, April 7, 2013
One Pepper Seedling
April 6
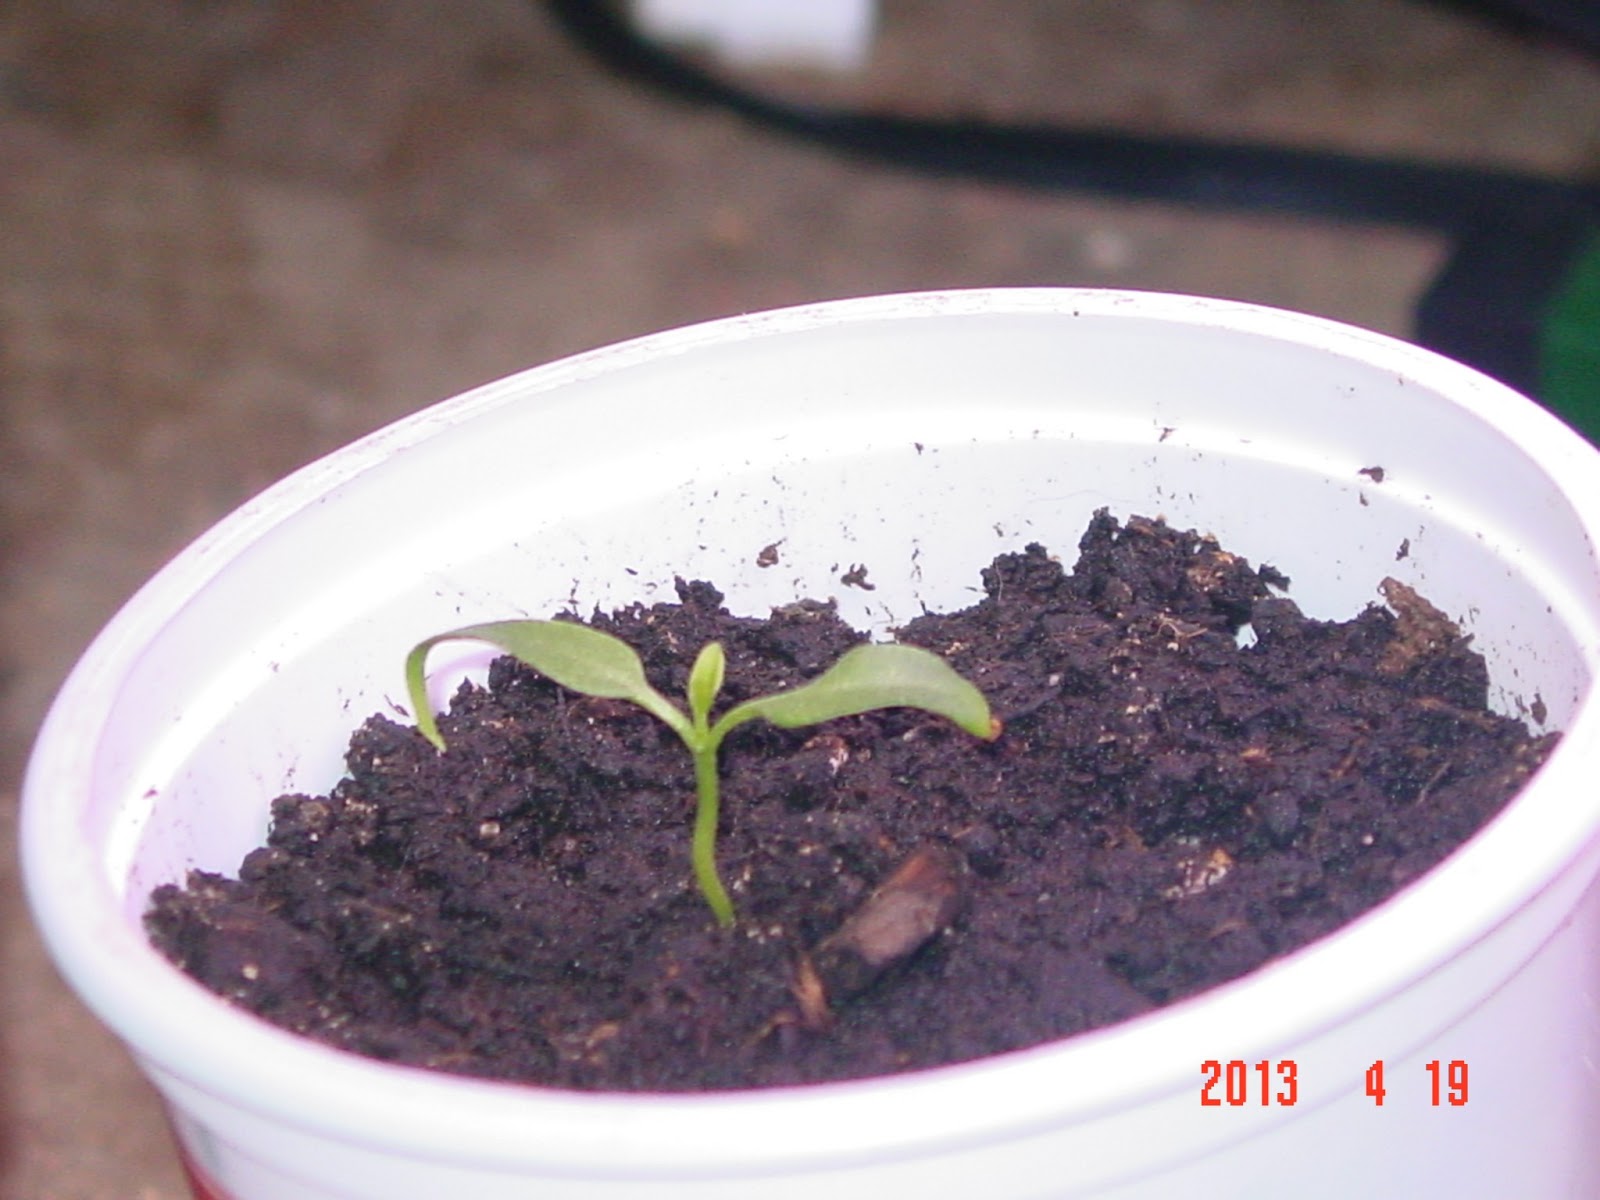
The saga continues. I have one little pepper plant that just seems to want to survive. I planted it tonight, in an old sour cream container with holes drilled in the bottom. I followed the planting instructions from The New Seed Starters Handbook (Bubel). She says to line the bottom of the container with 2 sheets of newspaper, to keep the soil from draining out of the container. Then she says to line the bottom with an inch of moss - and wet it. Then, moisten some potting soil and fill the container to within 1/2 an inch from the top. Then put the seedling in.
I chose a potting soil that has a slow-release fertilizer (Fafard). Now the pepper plant is sitting under the grow light in the basement. I really hope it makes it....
The saga continues. I have one little pepper plant that just seems to want to survive. I planted it tonight, in an old sour cream container with holes drilled in the bottom. I followed the planting instructions from The New Seed Starters Handbook (Bubel). She says to line the bottom of the container with 2 sheets of newspaper, to keep the soil from draining out of the container. Then she says to line the bottom with an inch of moss - and wet it. Then, moisten some potting soil and fill the container to within 1/2 an inch from the top. Then put the seedling in.
I chose a potting soil that has a slow-release fertilizer (Fafard). Now the pepper plant is sitting under the grow light in the basement. I really hope it makes it....
Not a great picture. I've been wondering if maybe I should have started the pepper seeds in wet paper towels. Something to try next time. I have new seeds growing. Today is Day 7 and I see about 3 tiny sprouts. I have put them under light, but I am keeping them on heat because most of them have not sprounted. I did add some water, because the peat pots seemed so dry. I put on my 10X magnifiers and discovered a little fuzz (fungus - already!!) on one of the seedlings. I pushed it off with my finger. The others look OK.
If these don't grow then I'll try the paper towel trick. I'll keep trying! I'm also going to buy plants from the nursery if I have to.
4/19/13 - UPDATE
My little pepper plant is doing well! It has it's first true leaves! And all the new pepper plants planted in the plugs are also doing well and about to grow their first true leaves, too. Hurray!
Update: June 2, 2013 - One and a half months later. This pepper plant made it!!
It is planted in a container, sitting safely in the pool area where animals can't get to it. I did find some aphids on it the other day... just a few. I picked them off and I have been keeping a close eye on it. I have to go to Florida for a week and am really nervous about not being able to watch my plants.
Labels:
Books,
Instructions,
Journal,
Peppers,
Seedlings,
Seeds,
Transplanting
Tuesday, April 2, 2013
Pruning Apple Trees at Cold Spring Orchard
Today, I joined other "master gardeners" at Cold Spring Orchard in Belchertown to learn how to prune apple trees.
It was freezing!! But, as this is the time of year to prune fruit trees, it was good experience.
This is Dr. Wes Autio, a specialist in fruit trees. He is a professor at UMass and was our instructor today:
One of the first things we learned is that a true horticulturist only uses the best quality tools. That goes for aspiring horticulturists like myself. Hmm. Guess my OSJL tools don't count. I didn't dare take them out of the car!
Wes suggests buying our tools from Oesco (Orchard Equipment Supply Company) because they have the best tools available, and because they are a local company (Conway, MA). I picked up one of their catalogues when I went to the blueberry pruning seminar last month. The tools needed for proper pruning are hand-pruners, loppers and pruning saws. Some of the brands Wes highly recommends are Felco, Barnel, Pica (hand-pruners) and Silky (saws).
In this picture, he is demonstrating how to sharpen tools. In his right hand is a sharpener (diamond stone, "medium"). You are only supposed to sharpen the beveled side. Run the sharpener along the bevel, against the cut itself, then turn the blade over to clean the bur (deburring) by rubbing the sharpener flat against it.
Also, it is recommended that you oil the tools with a light oil and keep them clean, either with water or WD-40 (I actually discovered that we have a can of this in the basement!). Wes says he doesn't worry too much about disinfecting the tools, and says that it is not necessary unless you've been working with plants that are diseased.
Now, for the apple trees!
I can just picture this place when the trees are in bloom!!
We were all given a bookmark/factsheet about apple tree pruning and training:
It was freezing!! But, as this is the time of year to prune fruit trees, it was good experience.
This is Dr. Wes Autio, a specialist in fruit trees. He is a professor at UMass and was our instructor today:
One of the first things we learned is that a true horticulturist only uses the best quality tools. That goes for aspiring horticulturists like myself. Hmm. Guess my OSJL tools don't count. I didn't dare take them out of the car!
Wes suggests buying our tools from Oesco (Orchard Equipment Supply Company) because they have the best tools available, and because they are a local company (Conway, MA). I picked up one of their catalogues when I went to the blueberry pruning seminar last month. The tools needed for proper pruning are hand-pruners, loppers and pruning saws. Some of the brands Wes highly recommends are Felco, Barnel, Pica (hand-pruners) and Silky (saws).
In this picture, he is demonstrating how to sharpen tools. In his right hand is a sharpener (diamond stone, "medium"). You are only supposed to sharpen the beveled side. Run the sharpener along the bevel, against the cut itself, then turn the blade over to clean the bur (deburring) by rubbing the sharpener flat against it.
Also, it is recommended that you oil the tools with a light oil and keep them clean, either with water or WD-40 (I actually discovered that we have a can of this in the basement!). Wes says he doesn't worry too much about disinfecting the tools, and says that it is not necessary unless you've been working with plants that are diseased.
Now, for the apple trees!
I can just picture this place when the trees are in bloom!!
We were all given a bookmark/factsheet about apple tree pruning and training:
- Sunlight turns buds into fruit buds.
- Training and pruning should maximize sunlight in the tree.
- Shade is your enemy - All parts of the tree should receive sunlight.
- Pruning Stimulates new shoots which will produce fruit buds the following year and bear fruit the next year.
- Remove 2 or 3 of the largest limbs in the top two-thirds of the tree.
- Use the 2-1 rule (diameter-based pruning). Remove any scaffold branch or limb that is half the diameter or larger than the central leader. A branch of this size chokes out the leader, not allowing the tree to reach optimal fruiting capacity. Use bevel cuts to remove these limbs.
- Avoid heading cuts - remove the entire limb instead.
- Avoid complex branches in the lower one-third of the tree. As branches on lateral limbs get older they develop additional branches. This is what we call a complex branch. Leave the smaller pencil thick fruiting shoots.
- Remove downward hanging branches.
- Remove shoots that are growing straight up.
- Leave one shoot as a central leader - do not prune it.
Subscribe to:
Posts (Atom)